Introduction to Silicone Molds
Silicone molds have become increasingly popular in various industries, from baking to crafting. These molds offer a versatile and durable solution for creating intricate shapes and designs. Whether you are a professional or a hobbyist, learning how to make silicone molds can open up a world of possibilities for your creative endeavors.
In this article, we will provide a step-by-step guide on how to make silicone molds, from choosing the right materials to the actual molding process.
Step 1
It is essential to gather all the necessary materials. You will need a silicone mold making kit, which typically includes silicone rubber, a catalyst, and a mold release agent. Additionally, you will need the object you wish to mold, such as a figurine or a prototype. It is crucial to select a mold making kit that is suitable for your specific project, as different kits have varying properties and curing times.

Step 2
The first step after preparing all the materials is to prepare the object to be formed. A release agent can be applied to the object to ensure it is clean and free of any dust or debris, but also to make it easier to remove from the mold later. This step is especially important if the object has intricate details or undercuts.
Step 3
It is time to mix the silicone rubber and catalyst. Follow the instructions provided with your mold making kit to determine the appropriate ratio of silicone rubber to catalyst. Typically, a 10:1 ratio is common, but this may vary depending on the specific brand or type of silicone rubber you are using. Thoroughly mix the two components together, ensuring that there are no streaks or inconsistencies in the mixture.
Step 4
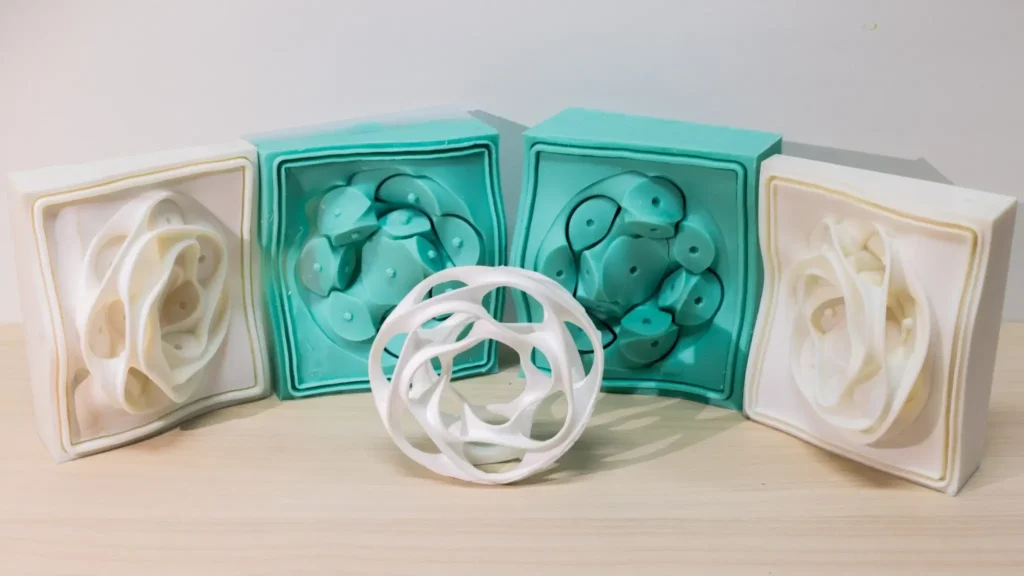
Once the silicone rubber and catalyst are well-mixed, it is time to pour the mixture over the object. Start by pouring a small amount of silicone rubber into the mold box or container, enough to cover the object partially. Gently place the object into the container, ensuring that it is centered and fully submerged in the silicone rubber. Slowly pour the remaining silicone rubber over the object, making sure that it completely covers the object and fills the mold box.

Step 5
After pouring the silicone rubber, it is important to remove any air bubbles that may have formed. This can be done by gently tapping the mold box on a flat surface or using a vibrating tool specifically designed for this purpose. Removing air bubbles is crucial to ensure a smooth and flawless mold.
Step 6
Once the silicone rubber has been poured and the air bubbles removed, it is time to let the mold cure. The curing time will vary depending on the specific silicone rubber you are using, so refer to the instructions provided with your mold making kit. It is important to allow the mold to cure undisturbed in a well-ventilated area.
Step 7
After the mold has fully cured, it is time to demold the object. Carefully remove the mold from the mold box, taking care not to damage the mold or the object. If necessary, use a release agent or a gentle twisting motion to facilitate the demolding process.

In conclusion, learning how to make silicone molds can be a valuable skill for anyone interested in creating unique and intricate designs. By following the steps outlined in this article, you can create your own silicone molds and unlock a world of creative possibilities.
Remember to choose the right materials, prepare the object properly, mix the silicone rubber and catalyst correctly, remove air bubbles, and allow the mold to cure before demolding. With practice and patience, you will soon be able to create professional-quality silicone molds for all your creative projects.