Step-by-step guide to drilling countersink holes in metal workpieces
Drilling countersinks in metal workpieces is a skill that must be mastered by anyone who works with metal. Whether you are a professional metalworker or a DIY enthusiast, knowing how to properly drill countersinks can greatly improve the quality and functionality of your project.
In this step-by-step guide, we will walk you through the process of drilling countersinks in metal workpieces, ensuring that you get precise, professional results.
Step 1
Gather the necessary tools and materials. To drill countersinks in metal workpieces, you will need a few essential tools. These tools include a drill press or handheld drill, a countersink bit, a center punch, a hammer, a clamp, and safety equipment (such as safety glasses and gloves). In addition, make sure you have the metal workpiece in which you want to drill the countersink.

Step 2
Mark the location of the countersink. Using a center punch and hammer, carefully mark the exact location you want to drill. This will help prevent the drill bit from wandering and ensure the exact location of the hole.
Step 3
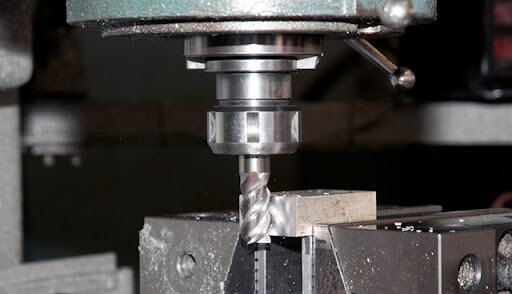
Secure the workpiece. Securely place the metal workpiece in a clamp or vise to prevent it from moving during the drilling process. This will ensure stability and accuracy while drilling.
Step 4
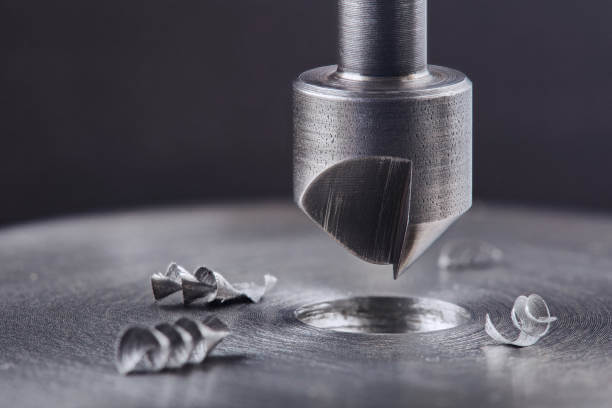
Choose the right countersink bit. Choose a countersink bit that matches the size and angle you need for the hole. The angle of the countersink bit should match the angle of the screw or fastener you plan to use.

Step 5
Set up your drill press or handheld drill. If you are using a drill press, adjust the speed and depth settings based on the specifications of the metal workpiece and the countersink bit. If you are using a handheld drill, make sure it is held firmly and set to the appropriate speed.
Step 6
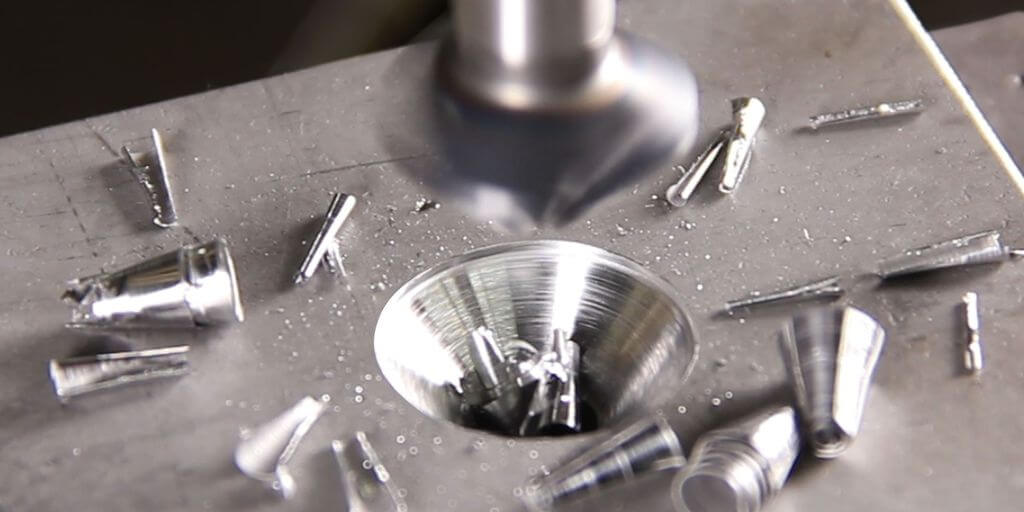
Begin drilling. Position the drill bit over the marked spot on the metal workpiece. Apply gentle pressure and begin drilling slowly. Maintain a steady and controlled speed to prevent overheating or damaging the metal. Keep the drill bit perpendicular to the workpiece to ensure that the countersink is straight and accurate.
Step 7
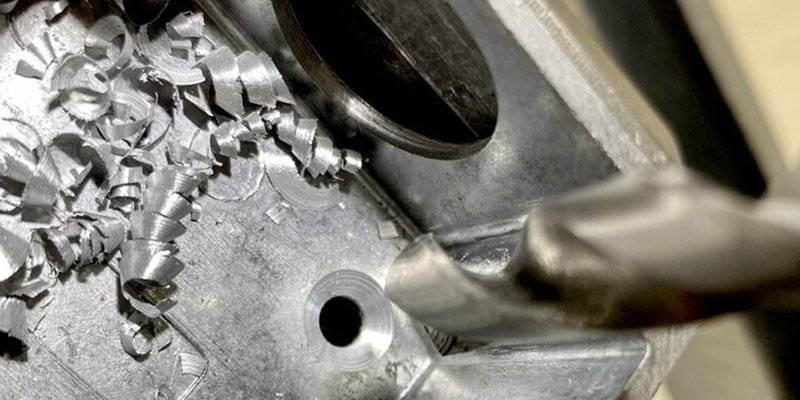
Monitor the drilling process. While drilling, periodically pull out the drill bit to clear metal shavings and prevent clogging. This will help keep the drilling process efficient and effective.

Step 8
Check the depth and angle. Once the desired depth is reached, stop drilling and carefully inspect the hole. Make sure the depth and angle are what you want. Make any adjustments if necessary and continue drilling until you achieve the desired result.
Step 9
Clean and remove any burrs. Once the hole is drilled, remove the workpiece from the fixture or vise. Use a deburring tool or file to remove any sharp edges or burrs around the hole. This will ensure a smooth, professional finish.
By following these step-by-step instructions, you can successfully drill holes in metal workpieces. Also remember that you must wear appropriate protective gear and work in a well-ventilated area to ensure safety. Later, with practice and attention to detail, you will fully master this essential skill and be able to create precise and professional metalworking projects.
