Distributed Steps of Die Casting Mold Design
There are several meticulous steps in creating a die casting mold design which are outlined below.
1.Design & Specifications
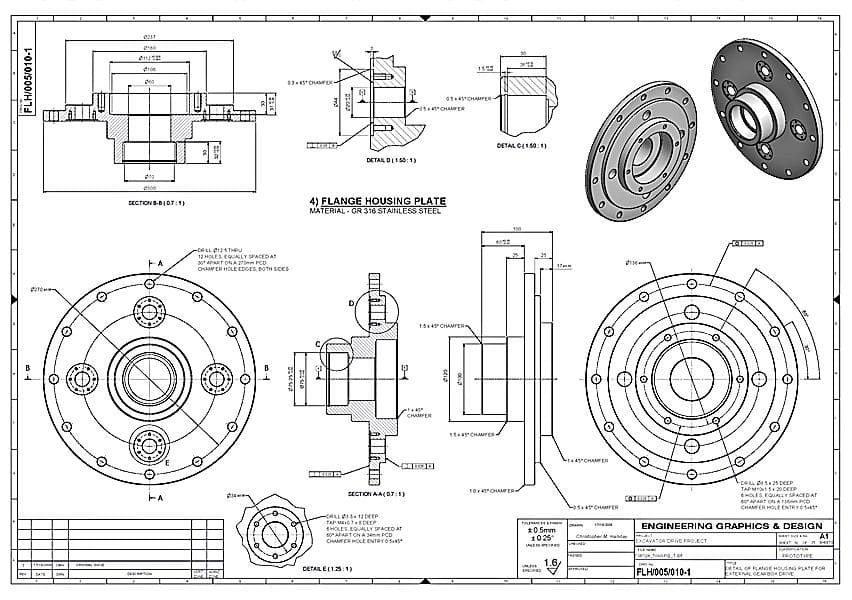
Engineers consider the final product and create a detailed design based on its typical specifications. This includes the understanding of tolerances, geometry, and complexity of the final part. The involvement of CAD formats plays an important role in the creation of 3D models that are integrated with industrial standards and expected product requirements.

2.Tooling & Die Base Preparation
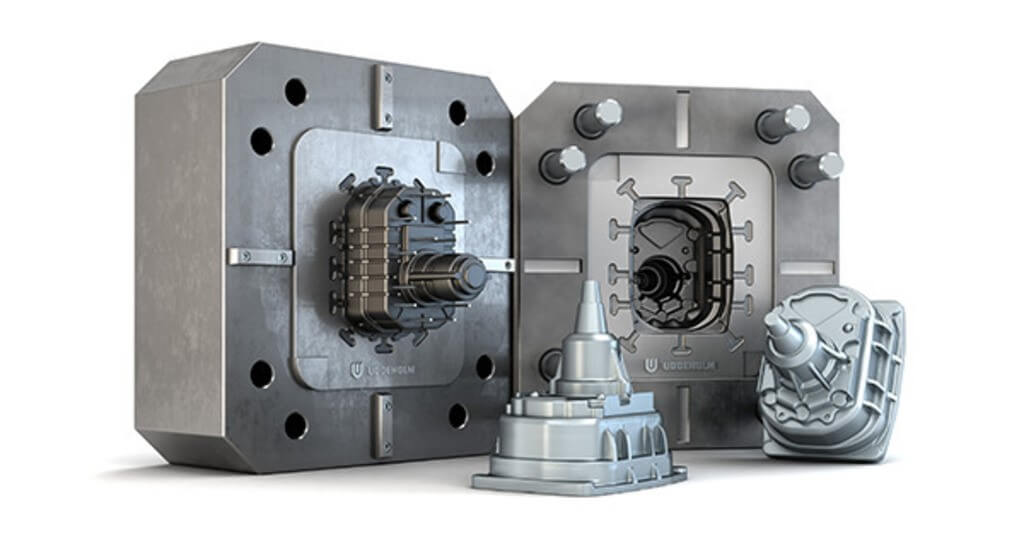
Once the design is completed, it enters the second process: mold and die base preparation. Mold components such as cores and cavities are carefully crafted by experienced mold makers using high-grade materials that are strong enough to withstand high pressures and temperatures.

3.Mold Assembly & Finishing
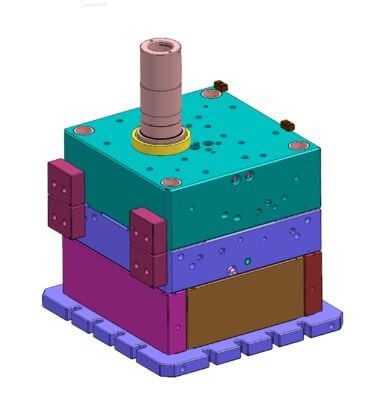
It is the core process of die casting mold design and includes the careful alignment, fixation, and assembly of multiple parts. This detailed stage ensures precise cooling and ventilation to integrate slides and pins to simplify the ejection of the final part. Proper surface treatment and finishing treatment prevents corrosion, prolongs durability, and smooth operation.
4.Testing & Validation
Before going into mass production, the mold must be carefully tested. Several trials are required to analyze the quality, integrity, and functionality of the mold. After testing, some finer adjustments and tweaks may be necessary to improve the consistency of the mold.

5.Production and Maintenance
Now, after thorough testing and verification, the mold is ready to be put into the production process. Once the mold is set, the molten metal is injected into the mold cavity under high pressure. After solidification, the quality of the produced parts is checked. The operability and life of the mold depends on routine maintenance, which indirectly guarantees the quality of the manufactured parts.
