Welding Cast Aluminum: The Ultimate Guide to Tips and Techniques
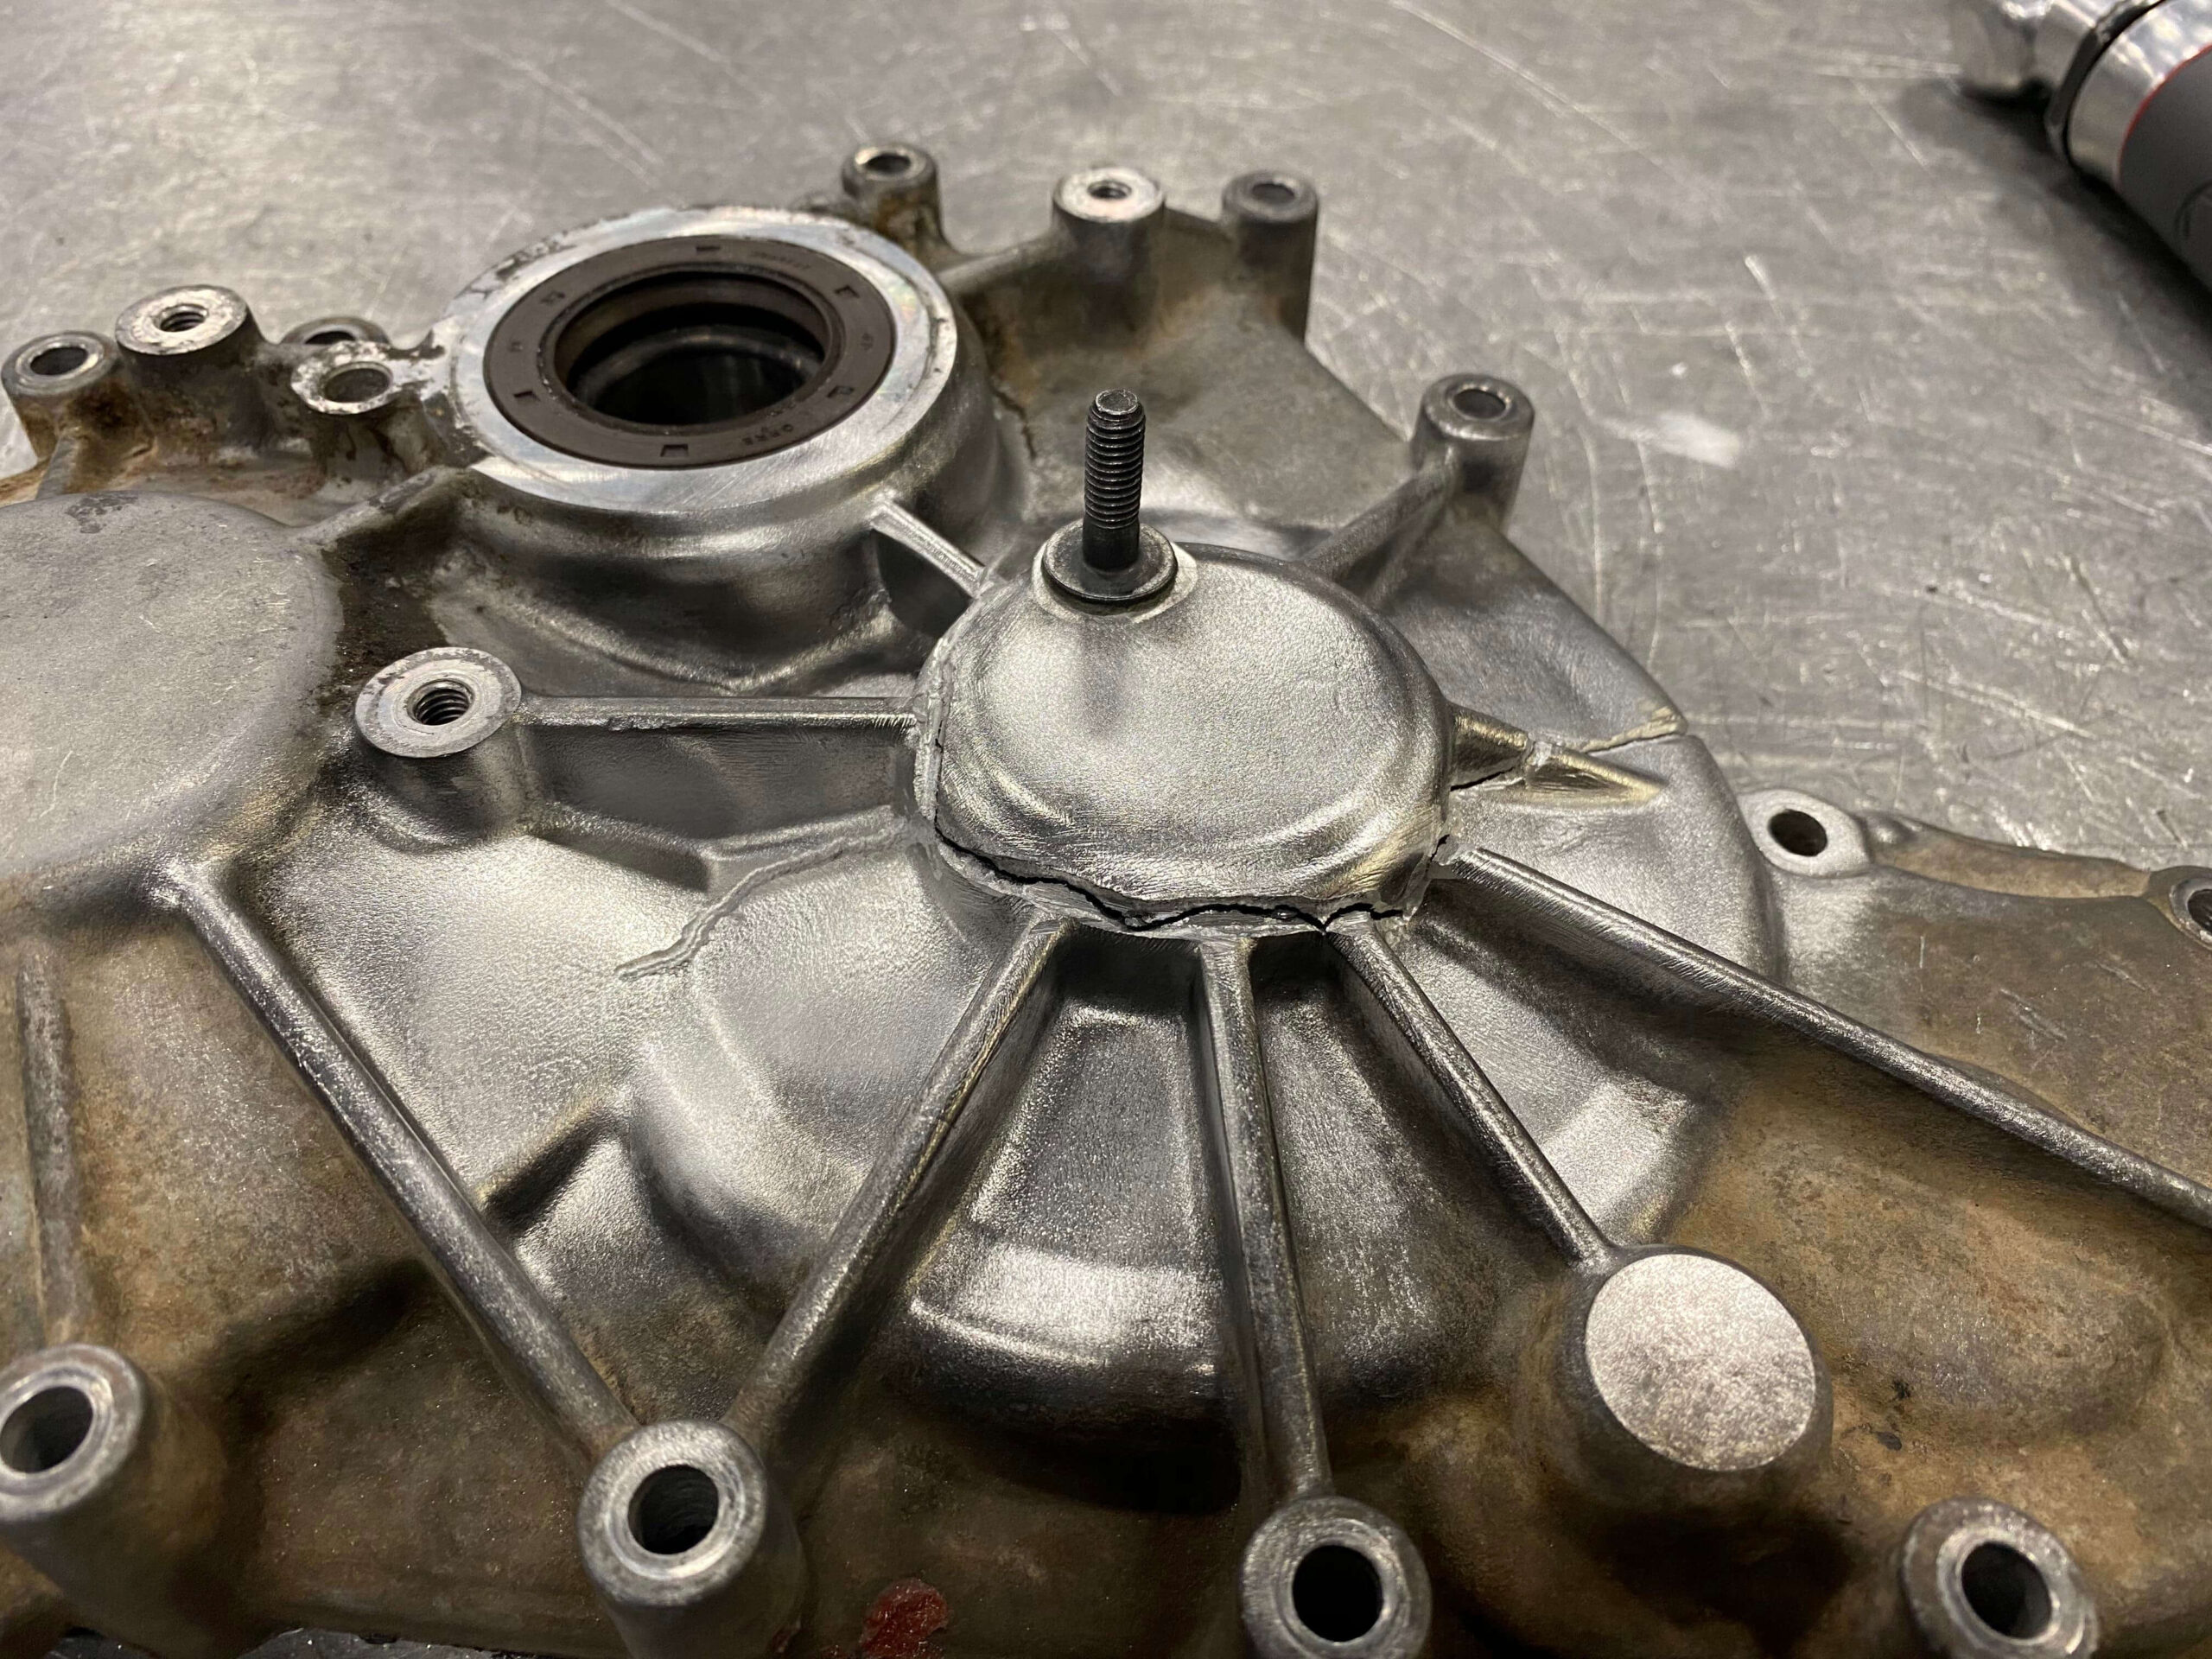
Have you ever struggled with porosity and cracking when welding cast aluminum? You’re not the only one who has. These common problems can test the patience of even the most skilled welders and jeopardize the quality of your project. However, what if these obstacles could be the key to fine-tuning your welding process?
Our guide offers practical solutions to common problems when dealing with cast aluminum. We’ll cover the necessary preparation, precise welding techniques, and post-weld processes to help you achieve a clean, strong weld that will stand the test of time. Read on to learn how to deliver professional-grade results on your next welding project.
1.Welding Cast Aluminum: The Basics
When welding cast aluminum, there are some basic things you need to keep in mind to ensure a successful weld.
Here are some key points to remember:
1) Material Preparation
Before you begin welding, it is important to properly prepare the material. This includes cleaning the area to be welded, removing any surface contaminants, and preheating the material if necessary. Preheating helps prevent cracking and improves weld penetration.
2) Filler Material
Choosing the right filler material is essential to achieving a strong, durable weld. For cast aluminum, it is recommended to use a filler material that has a lower melting point than the parent material. This helps prevent the parent material from melting and weakening the weld.
Welding Techniques
When welding cast aluminum, it is important to use a technique that minimizes heat input and prevents warping. TIG welding is often the preferred method because it allows for precise control of heat input. It is also important to maintain a consistent travel speed and avoid overheating the material.
3) Post-weld Treatment
After welding, it is important to properly treat the material to ensure a strong and durable weld. This includes stress relief, which is heating the material to a specific temperature and allowing it to cool slowly. This helps reduce internal stress and prevent cracking.
2.Welding Preparation
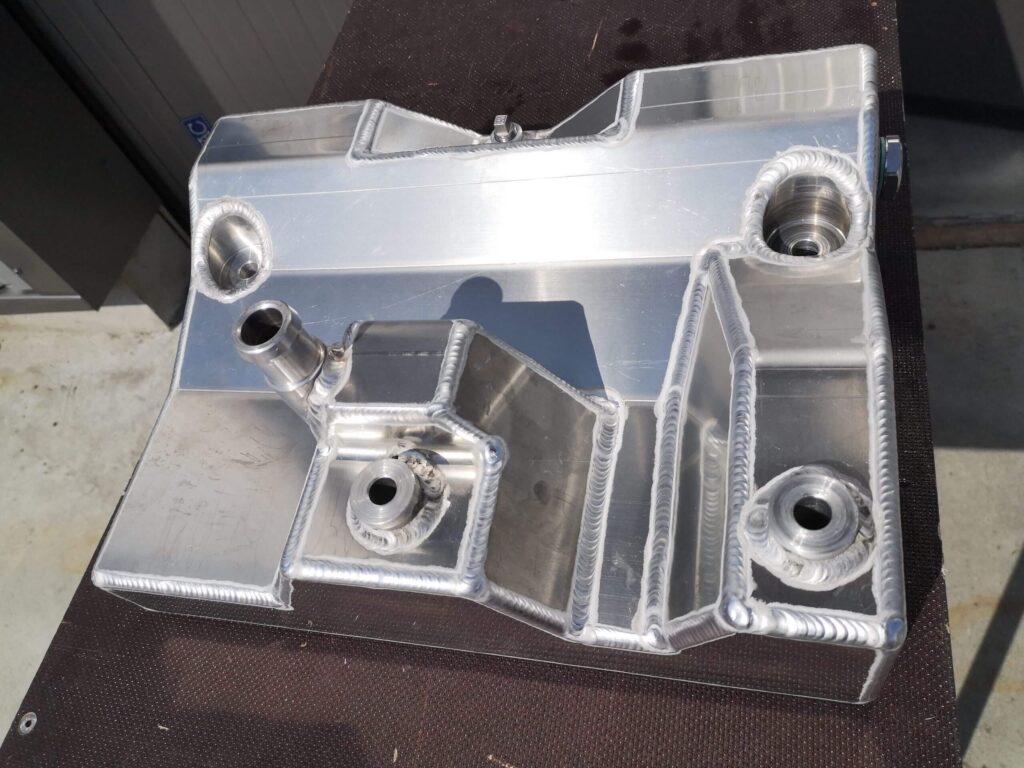
1) Cleaning and Degreasing
Before welding cast aluminum, make sure the surface is clean and free of any contaminants such as dirt, oil, or grease. Failure to do so will result in a poor weld that may fail under stress.
To clean the surface, use a wire brush or sandpaper to remove any loose debris or oxides. Then, use a degreaser to remove any oil or grease. Be sure to rinse the surface thoroughly with clean water and allow it to dry completely before welding.
2) Preheating Procedures
Preheating is a critical step in welding cast aluminum. It helps reduce the risk of cracking and ensures a strong, durable weld. To preheat the metal, use a propane blowtorch or oven to heat the surface to 300 to 400 degrees Fahrenheit. Make sure to evenly heat the entire area to be welded. After preheating, allow the surface to cool to room temperature before beginning the welding process.
3.Welding Techniques
When welding cast aluminum, two common methods are TIG welding and MIG welding. Each technique has its advantages and disadvantages, and the choice of method depends on the application and the skill level of the welder.
1) TIG Welding Methods
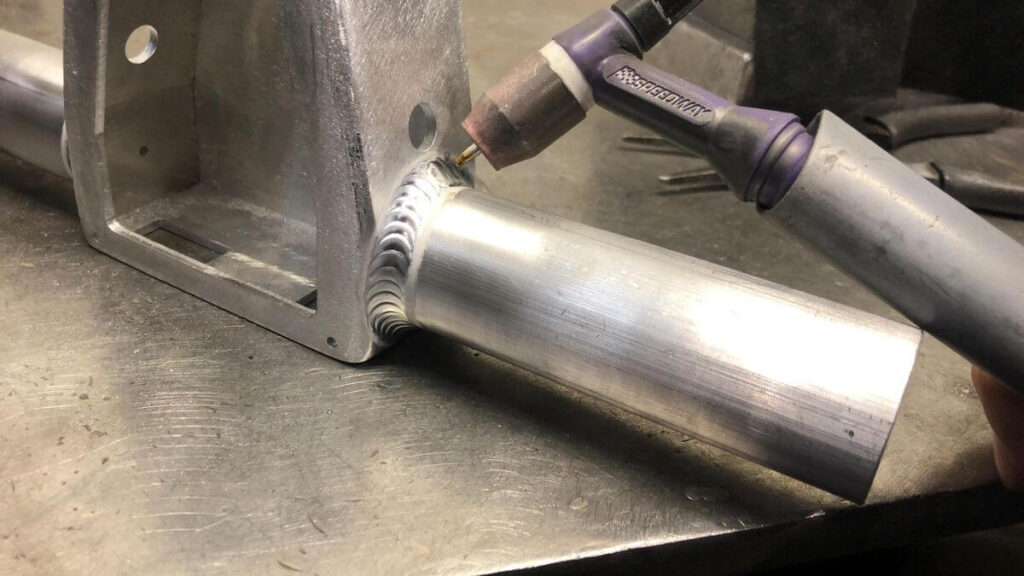
TIG welding is a commonly used method for welding cast aluminum because of its high precision and ability to produce high-quality welds. TIG welding uses a tungsten electrode to create an arc to melt the aluminum, while a filler rod is added to the weld pool to form a strong joint.
To successfully TIG weld on cast aluminum, you need to follow several key steps:
- Clean the aluminum surface thoroughly to remove any dirt, oil, or other contaminants that may affect the quality of the weld.
- Preheat the aluminum to reduce the risk of cracking and increase weld penetration.
- Use a filler rod that matches the composition of the aluminum to ensure a strong connection.
- Maintain a consistent arc length and travel speed to produce an even weld bead.
2) MIG Welding Methods
MIG welding is another commonly used method for welding cast aluminum. It is faster and more efficient than TIG welding, making it ideal for large projects or production work. MIG welding uses a wire electrode fed through a spool gun to melt the aluminum and form a strong joint.
To achieve successful MIG welding on cast aluminum, you need to follow several key steps:
- Clean the aluminum surface thoroughly to remove any dirt, oil or other contaminants that may affect the quality of the weld.
- Adjust the MIG welder settings to match the thickness and wire diameter of the aluminum.
- Use a filler wire that matches the composition of the aluminum to ensure a strong connection.
- Maintain a consistent wire feed speed and travel speed to produce an even weld bead.
4.Welding Challenges and Solutions
1) Porosity Issues
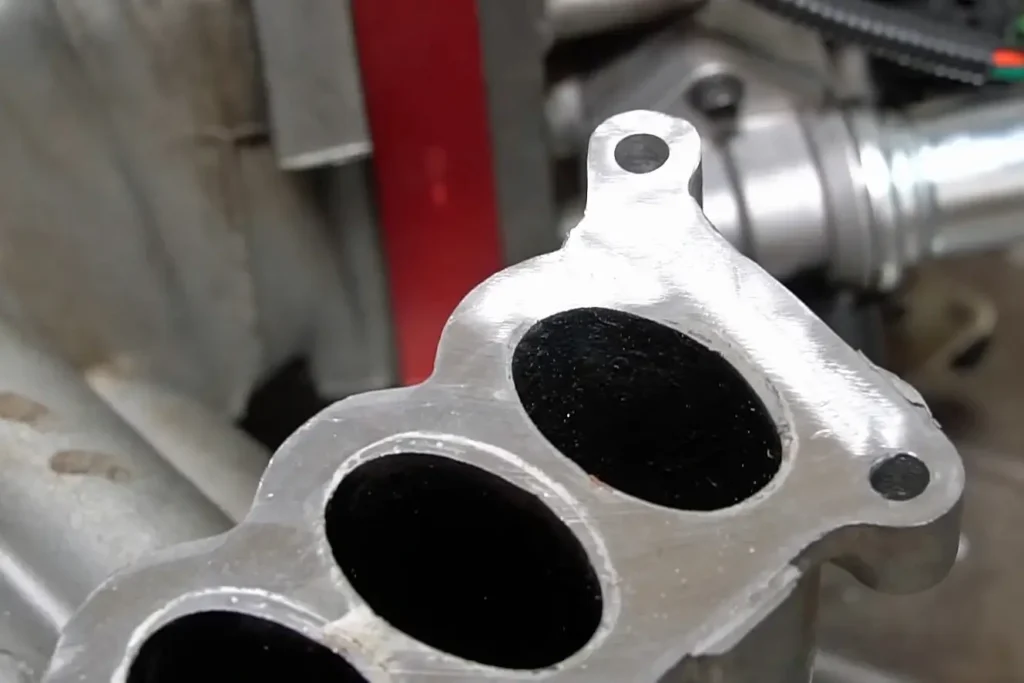
Welding cast aluminum can be challenging due to the frequent porosity issues. Porosity is caused by bubbles in the weld, which can weaken the joint and cause it to fail. To prevent porosity, you need to ensure that the aluminum is clean and free of any contaminants.
You can use a wire brush or grinder to remove dirt or oxides from the aluminum surface. You can also use a shielding gas, such as argon, to displace the air around the weld to prevent bubbles from forming.
2) Preventing Cracking
Another challenge when welding cast aluminum is the potential for cracking. This is often caused by the high heat input required for welding, which causes the aluminum to bend and deform. To prevent cracking, you need to use a low heat input and preheat the aluminum before welding.
You can also use a filler material that is compatible with welding aluminum to reduce stress on the joint and prevent cracking. In addition, using a post-weld heat treatment can also help reduce the likelihood of cracking.
5.Post-Weld Treatment
1) Cooling and Solidification
After welding cast aluminum, it is critical to allow the material to cool and solidify properly. This process is important because it ensures that the weld is strong and durable. The cooling process should be done gradually to prevent any thermal shock that could cause cracking or deformation.
One way to ensure a proper cooling process is to use a post-weld heat treatment. The process involves heating the weld area to a specific temperature and holding it for a certain amount of time. Heat treatment helps relieve any residual stresses and improves the overall strength of the weld.
2) Finishing and Machining
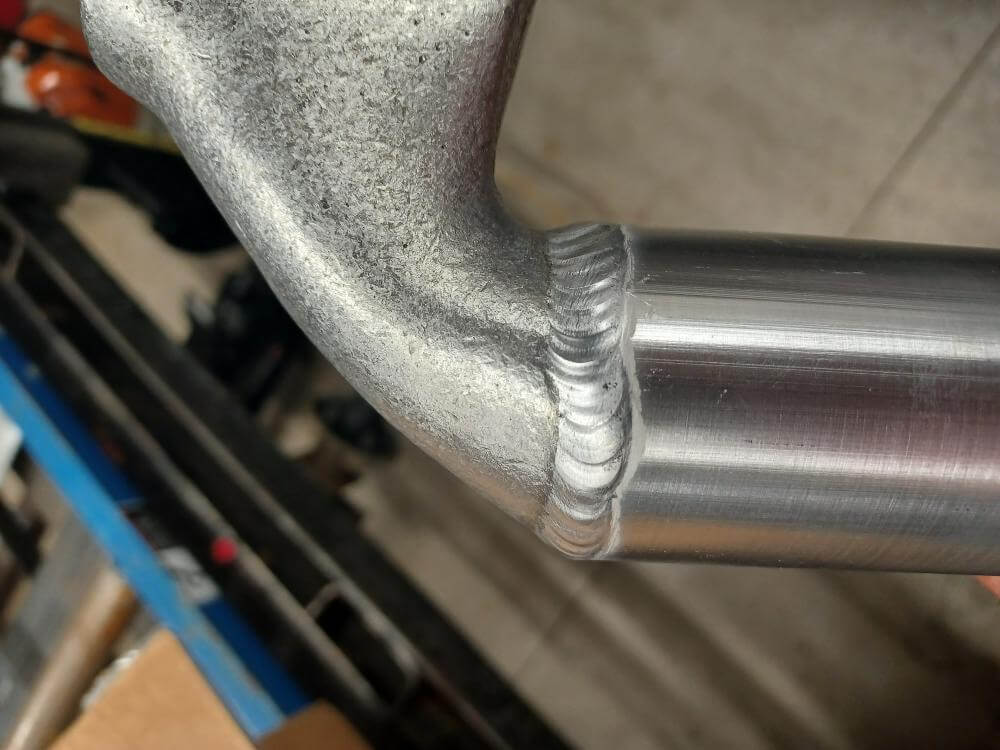
Once the cast aluminum has cooled and solidified, it’s time to finish and machine the weld area. This process involves removing excess material and smoothing the weld surface.
It’s worth noting that welding cast aluminum can be challenging due to its low melting point and high thermal conductivity. Therefore, it’s recommended to use specialized equipment and techniques to achieve a high-quality weld. Additionally, it’s crucial to follow proper safety procedures when welding, as aluminum produces harmful fumes and dust.
6.Conclusion
Mastering the art of cast aluminum welding is an achievable feat, and with the guidance shared in this article, you’re now better equipped to handle the obstacles it presents. Remember, the key lies in patience, precision, and practice.
By methodically applying the techniques we’ve covered, from meticulous preparation to carefully selected filler materials, you can overcome challenges and ensure a weld that’s not only strong, but one that showcases your commitment to quality craftsmanship.
As you apply these newfound strategies to your workbench, view each task as an opportunity to perfect your skills. Cast aluminum welding may test your patience, but it’s a test that pays off big time in improved skills and professional growth. So press on with confidence and let your welds be a testament to the expertise you’ve honed through hard work and dedication.
