The entire process of anodizing
Anodizing aluminum parts is a process that improves the anodizing properties of aluminum parts. The look and durability of metal. It involves the formation of a protective oxide layer on the surface of aluminum, which not only adds to its decorative properties but also improves its resistance to corrosion and wear. If you’re interested in learning how to anodizing aluminum parts, this step-by-step guide will walk you through the process.
Step 1
First, you will need to gather all the necessary materials and equipment. This includes the aluminum part to be anodized, the cleaning solution, the anodizing solution, the power supply, the cathode, and various tools such as brushes, gloves, and goggles. It is important to make sure you have everything you need before you begin the process.
Step 2
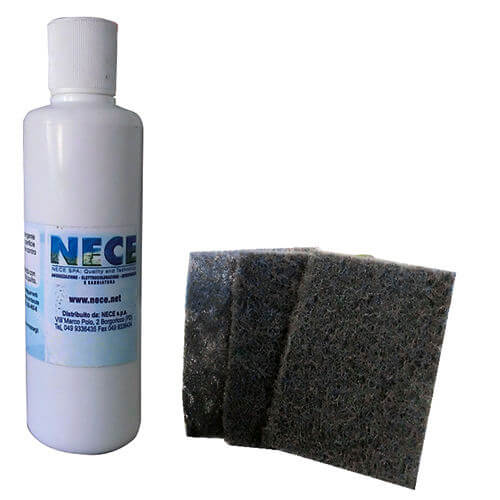
The next step is to thoroughly clean the aluminum part. This is crucial because any dirt, grease, or contaminants on the surface will interfere with the anodizing process. Start by scrubbing the part with a cleaner and a brush to remove any visible dirt. Then, rinse thoroughly with water to remove any residue. Finally, dry the part thoroughly to ensure a clean surface.

Step 3
Once the part is clean, it is time to prepare the anodizing solution. This solution is typically made up of sulfuric acid and water, and the concentration varies depending on the desired results. Be extremely careful when handling this solution, as sulfuric acid is very corrosive and can cause severe burns. Always wear gloves and goggles when handling the solution.
Step 4
Once the anodizing solution is prepared, set up the power supply and connect the aluminum piece as the anode. The cathode can be made of stainless steel or aluminum and should also be connected to the power supply. The distance between the anode and cathode should be carefully adjusted to ensure uniform anodizing.
Step 5
Now, immerse the aluminum part in the anodizing solution and turn on the power supply. The voltage and current settings depend on the size and thickness of the part, as well as the desired anodizing thickness. It is recommended to start with a low voltage and then gradually increase the voltage to avoid damaging the component.

Step 6
When the anodizing process begins, bubbles can be noticed forming on the surface of the aluminum part. This is normal and indicates that the oxide layer is forming. In addition, the duration of the anodizing process will vary depending on the desired thickness, but it is usually 30 minutes to several hours.
Step 7
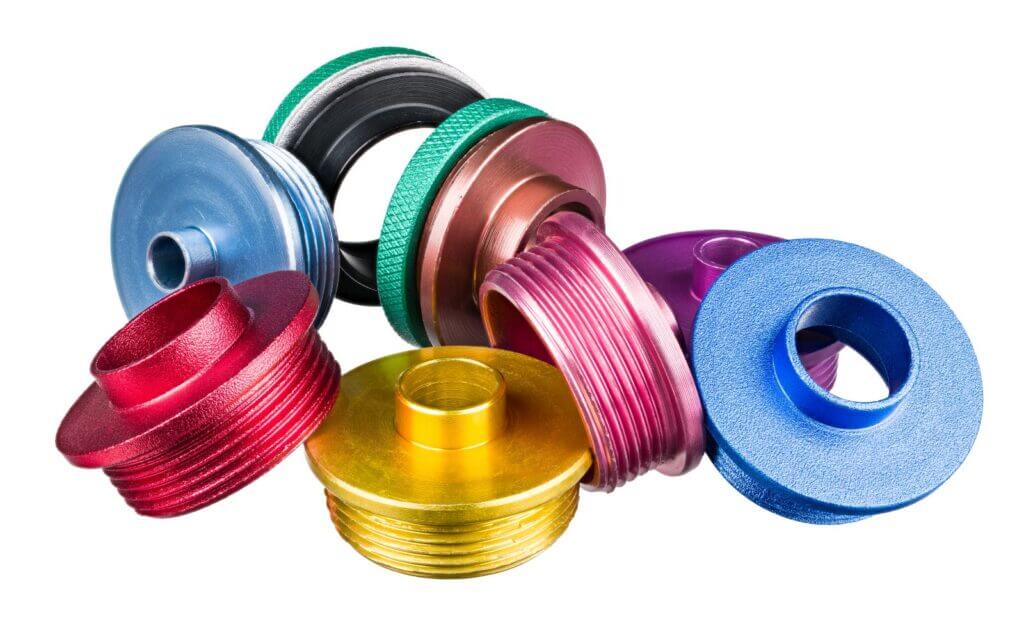
Once the desired thickness is achieved, the power supply can be turned off, the aluminum part can be removed from the anodizing solution, and then rinsed thoroughly with water to remove any residual acid. At this point, there is also the option of dyeing the anodized part to achieve a specific color, which requires immersing the part in the dye solution for a period of time.
Step 8
After dyeing, rinse the part again to remove any excess dye and then seal the anodized layer. This can be done by immersing the part in boiling water or using a commercial sealing solution. Sealing helps to further enhance the durability and corrosion resistance of the anodized layer.

In summary, anodizing aluminum parts is a process that involves cleaning, anodizing, staining (optional), and sealing. By following this step-by-step guide, you can achieve beautiful anodized aluminum parts that are not only visually appealing, but also highly resistant to corrosion and wear. Remember to always put safety first when working with chemicals and follow instructions carefully to ensure successful results.
