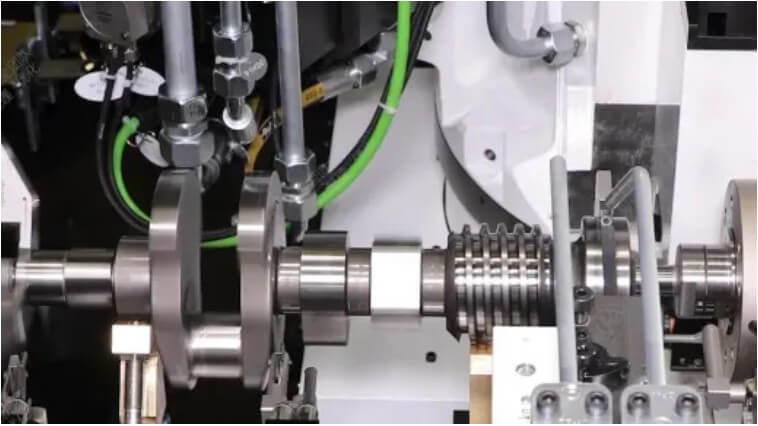
Crankshaft grinding process: key technology to improve crankshaft performance
Crankshaft grinding process is an important link in the crankshaft manufacturing process and plays a vital role in improving the accuracy and surface quality of the crankshaft. The crankshaft is a key part in the engine and its performance directly affects the working efficiency and reliability of the engine. Through the crankshaft grinding process, the surface roughness of the crankshaft can be effectively improved, and its wear resistance and fatigue resistance can be improved, thereby extending the service life of the engine.
This article will comprehensively analyze the application, principle, process, technical points, technical requirements and challenges, quality control and defect analysis of the crankshaft grinding process. I believe that reading this article will be helpful to you.
1.Overview of crankshaft grinding process
(1) Importance and application fields of crankshaft
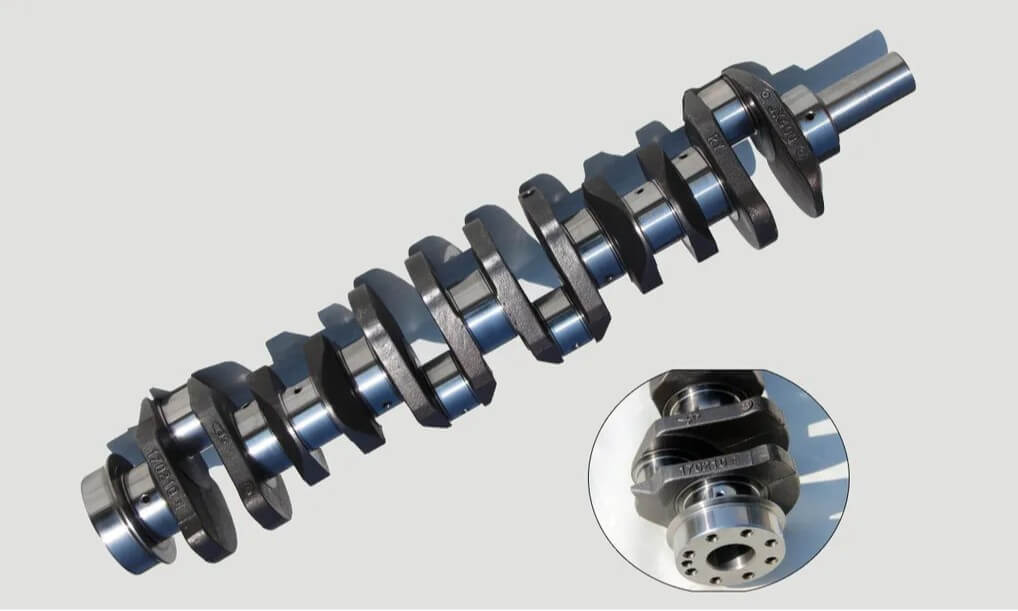
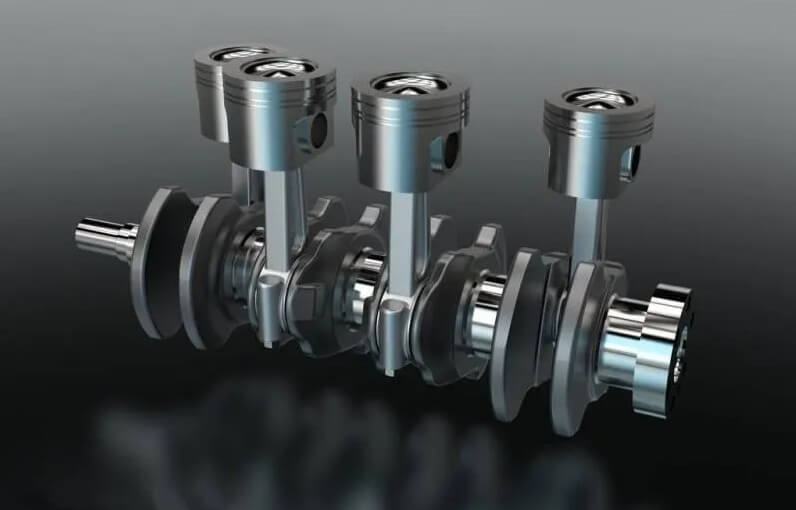
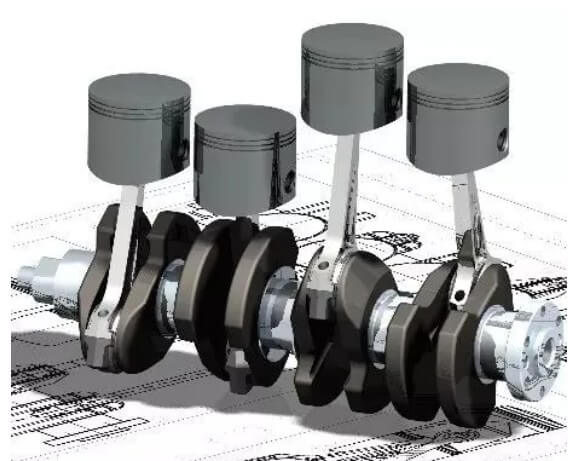
The crankshaft is one of the core components of the engine. Its main function is to convert the reciprocating linear motion of the piston into rotational motion, thereby driving the vehicle or other mechanical devices. Crankshafts are widely used in automobiles, ships, aerospace, energy equipment, industrial machinery and other fields. Their performance directly affects the efficiency and reliability of the entire power system. The manufacturing accuracy and surface treatment quality of the crankshaft have a decisive influence on the running stability, noise control and service life of the engine. Therefore, the crankshaft grinding process occupies an extremely important position in mechanical processing.
(2) The necessity of crankshaft grinding process
During the long-term operation of the crankshaft, due to the large mechanical and thermal stress, its surface may have defects such as wear and cracks. These defects not only affect the normal function of the crankshaft, but may also cause engine failure or even damage to the entire machine. The crankshaft grinding process can repair these defects, restore its dimensional accuracy and surface quality, and improve the durability and reliability of the crankshaft by precision machining the crankshaft. In addition, grinding can also improve the surface roughness of the crankshaft, reduce friction and wear, and thus reduce energy consumption and operating costs.
(3) The basic principle of crankshaft grinding process
The basic principle of crankshaft grinding process is to use the grinding wheel on the grinder to rotate and cut the crankshaft journal. By controlling the rotation speed, feed speed and cutting depth of the grinding wheel, the crankshaft journal can be precisely machined. During the grinding process, the crankshaft is fixed on the grinding machine, and the grinding wheel rotates at high speed and gradually approaches the crankshaft surface.
The material is removed by the grinding force to achieve the required dimensional accuracy and surface roughness. The key to the crankshaft grinding process is to maintain the sharpness and stability of the grinding wheel, while ensuring the effective operation of the cooling and lubrication system to reduce the impact of grinding heat and grinding force on the crankshaft.
2.The actual operation process of the crankshaft grinding process.
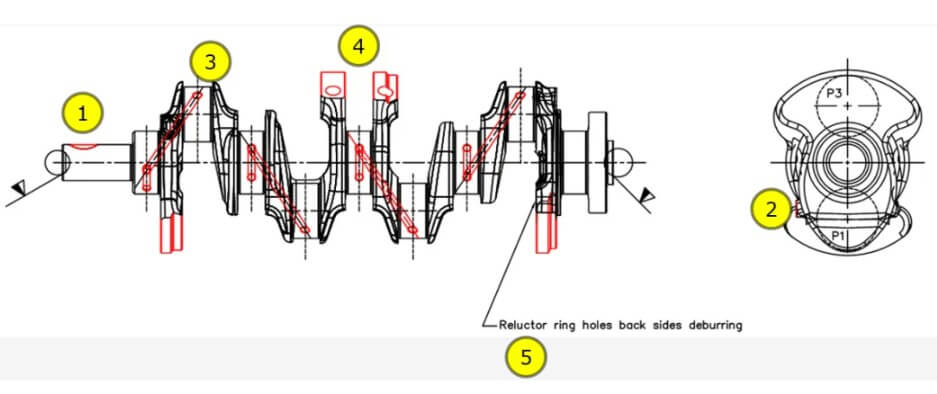
The crankshaft grinding process is a metal processing process used to improve the surface quality and accuracy of the crankshaft. It is widely used in the automobile and machinery manufacturing industries. The following is the actual operation process of the crankshaft grinding process:
(1) Preliminary preparation
1) Equipment inspection: Ensure that the grinding machine equipment is operating normally, and check key parts such as power supply, cooling system, transmission device, etc.
2) Tool preparation: Prepare necessary tools such as grinding wheels, measuring tools, fixtures, etc., and confirm that they are in good condition.
3) Material verification: Check the material, size and processing requirements of the crankshaft to ensure that they meet the process standards.
(2) Installation and positioning
1) Crankshaft clamping: Use a special clamp to firmly fix the crankshaft on the grinder to ensure stability during processing.
2) Reference positioning: Use the center holes at both ends of the crankshaft as the reference to accurately align the crankshaft’s rotation center and ensure that the crankshaft’s rotation center is concentric with the grinder’s spindle.
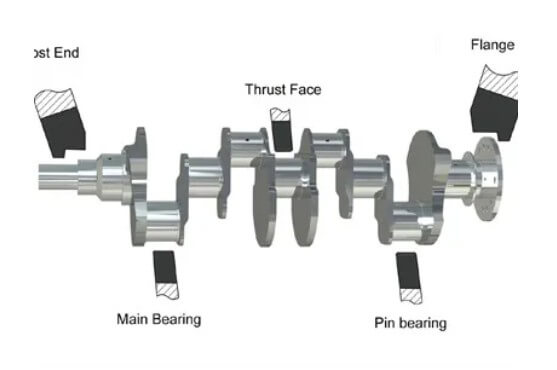
(3) Grinding wheel selection and dressing
1) Grinding wheel selection: Select a suitable grinding wheel according to the crankshaft’s material and surface roughness requirements, such as an aluminum oxide grinding wheel or a silicon carbide grinding wheel.
2) Grinding wheel dressing: Use a diamond pen or a dresser to dress the grinding wheel to ensure that the grinding wheel surface is flat and sharp.
(4) Grinding parameter setting
1) Cutting speed: Set a suitable cutting speed according to the crankshaft material and grinding wheel characteristics, generally 30-50 m/s.
2) Feed rate: Determine the feed rate for each grinding, usually between 0.005-0.01 mm/rev.
3) Grinding depth: Set the grinding depth according to the machining allowance and surface roughness requirements of the crankshaft, generally 0.01-0.05 mm.
(5) Rough grinding stage
1) Rough grinding operation: Start the grinder and perform rough grinding. The main purpose of rough grinding is to quickly remove material and prepare for subsequent fine grinding.
2) Dimension control: Regularly measure the size of the crankshaft to ensure uniform machining allowance.
(6) Semi-finishing grinding stage
1) Replace the grinding wheel: Replace the grinding wheel with a finer grain size as needed to reduce the surface roughness.
2) Adjust parameters: Appropriately reduce the cutting depth and feed speed to improve the grinding accuracy.
3) Semi-finishing grinding operation: Perform semi-finishing grinding to further remove the machining marks left by rough grinding and improve the dimensional accuracy and shape accuracy of the crankshaft.
(7) Fine grinding stage
1) Fine adjustment: Replace the grinding wheel again and select a grinding wheel with a finer grain size and higher hardness. Adjust the machine tool parameters to ensure that the grinding accuracy meets the requirements.
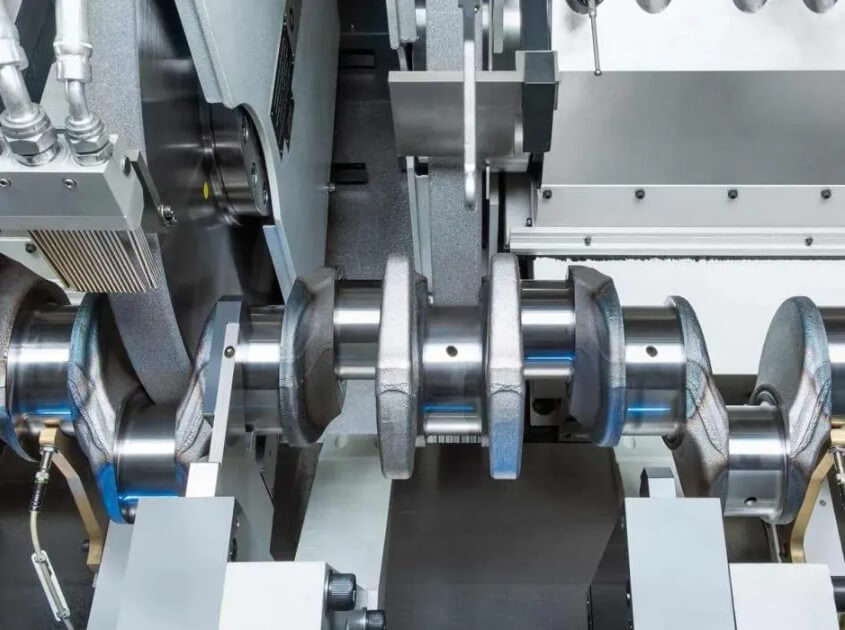
2) Fine grinding operation: Fine grinding is performed to obtain high-precision dimensions and shapes, as well as good surface quality. During the fine grinding process, the cutting depth and feed speed should be further reduced while maintaining a stable supply of coolant.
(8) Quality inspection
1) Dimension measurement: Use measuring tools such as micrometers and cylinder gauges to accurately measure the dimensions of the crankshaft to ensure that it meets the requirements of the drawings.
2) Surface inspection: Use surface roughness testers, microscopes and other equipment to check the roughness and grinding marks of the crankshaft surface to ensure that the surface quality meets the standards.
3) Form and position tolerance detection: Use instruments such as roundness testers and cylindricity testers to detect the form and position tolerances such as roundness and cylindricity of the crankshaft to ensure that its shape accuracy meets the requirements.
(9) Post-processing
1) Crankshaft cleaning: Use a cleaning agent to thoroughly clean the crankshaft to remove impurities such as oil stains and grinding chips on the surface.
2) Anti-rust treatment: Perform anti-rust treatment on the crankshaft, such as applying anti-rust oil or performing phosphating treatment, to prevent the crankshaft from rusting during storage and transportation.
3) Packaging and storage: The crankshaft should be properly packaged and stored in a dry and ventilated environment for subsequent use.
3.Technical points of crankshaft grinding process
(1) Selection of grinding equipment and tools
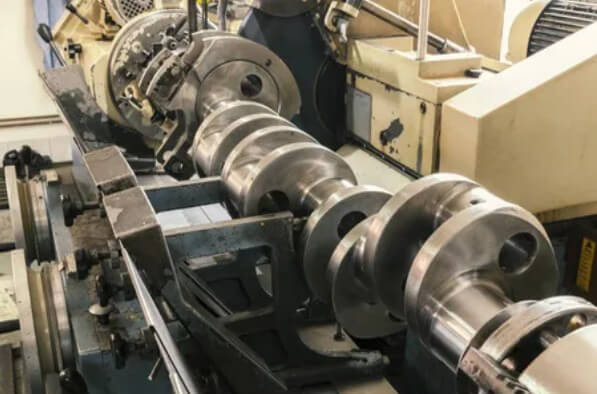
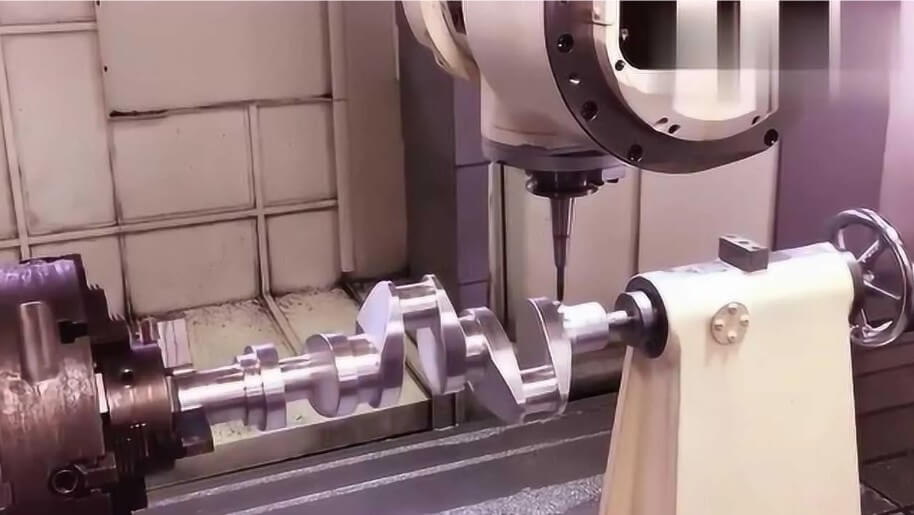
Selecting appropriate grinding equipment and tools is the key to ensuring the quality of crankshaft grinding. Commonly used crankshaft grinders include ordinary grinders and CNC grinders. CNC grinders have higher processing accuracy and efficiency and can realize automated grinding of complex paths.
The selection of grinding wheels is also very important. The appropriate grinding wheel type, particle size and hardness should be selected according to the material and processing requirements of the crankshaft. For example, for hardened steel crankshafts, CBN (cubic boron nitride) grinding wheels are usually selected because of their high hardness, high wear resistance and high thermal stability, which can significantly improve grinding efficiency and surface quality.
(2) Grinding parameter setting of crankshaft grinding process
The setting of grinding parameters has a direct impact on the grinding effect. The main grinding parameters include grinding wheel speed, feed speed and cutting depth. The grinding wheel speed determines the size of the grinding force and surface roughness, the feed rate affects the grinding efficiency and surface quality, and the cutting depth directly affects the removal rate of the grinding material.
In actual processing, it is necessary to reasonably adjust these parameters according to the material, hardness and processing requirements of the crankshaft to achieve the best grinding effect. For example, for high-hardness crankshaft materials, a lower feed rate and a larger cutting depth can be used to reduce grinding heat and grinding force.
(3) Cooling and lubrication during grinding
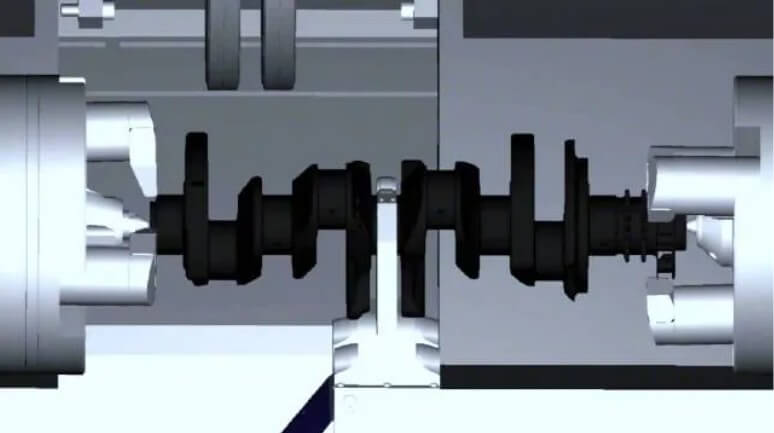
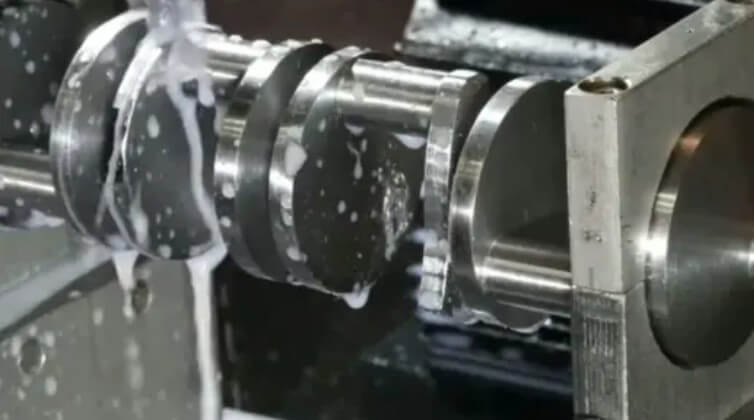
Cooling and lubrication during grinding are important factors to ensure grinding quality and extend the life of the grinding wheel. Appropriate cooling lubricants can effectively reduce the temperature of the grinding zone, reduce the impact of grinding heat on the surface quality of the crankshaft, reduce the wear of the grinding wheel, and improve grinding efficiency.
Commonly used cooling lubricants include water-based coolants and oil-based coolants. Water-based coolants have good cooling performance, while oil-based coolants have better lubrication performance. In the actual application of crankshaft grinding technology, appropriate cooling lubricants can be selected according to the grinding material and processing requirements, and ensure that they are supplied sufficiently and evenly.
4.Technical requirements and challenges of crankshaft grinding process
(1) Technical requirements
The technical requirements that need to be strictly followed in the actual application of crankshaft grinding process include dimensional accuracy, surface roughness, roundness and cylindricity. These technical requirements ensure that the crankshaft can run smoothly in the engine and reduce wear and vibration.
Dimensional accuracy is the basis for ensuring good fit between the crankshaft and other components, while surface roughness directly affects the friction and wear performance of the crankshaft. Roundness and cylindricity are key indicators to ensure the smooth rotation of the crankshaft. Any slight deviation may cause the engine to run unsteadily and increase noise.
(2) Challenges in the grinding process
Common challenges in the crankshaft grinding process include heat treatment deformation, tool wear and surface burns. These problems may be caused by improper grinding parameter settings or insufficient cooling and lubrication conditions, affecting the grinding quality and efficiency.
For example, heat treatment deformation may cause changes in the size and shape of the crankshaft, thereby affecting its assembly and performance; tool wear will increase grinding costs and reduce grinding efficiency; surface burns will affect the surface quality and durability of the crankshaft. In order to overcome these challenges, it is necessary to continuously optimize the grinding process parameters, improve the cooling and lubrication conditions, and select suitable grinding tools and grinding wheels.
5.Quality control and defect analysis of crankshaft grinding process
(1) Common grinding defects and causes
In the actual operation of the crankshaft grinding process, common defects include surface burns, dimensional errors, shape deviations, etc. These defects may be caused by improper grinding parameters, wrong grinding wheel selection, insufficient cooling and lubrication, etc.
For example, surface burns may be caused by insufficient coolant or improper grinding parameter settings; dimensional errors may be caused by improper machine tool adjustment or inaccurate measuring tools; shape deviations may be caused by improper crankshaft installation or uneven grinding wheel wear.
(2) Improvement measures and optimization strategies
In order to improve the grinding quality, effective improvement measures must be taken for common defects. This includes optimizing grinding parameters, selecting suitable grinding wheels, and improving cooling and lubrication conditions.
For example, grinding parameters can be optimized by adjusting grinding depth, feed speed and grinding wheel linear speed; grinding effect can be improved by selecting grinding wheels with moderate hardness and appropriate grain size; surface burns can be prevented by increasing coolant flow and improving coolant performance. In addition, regular maintenance and inspection of equipment to ensure that it is in the best working condition is also an important measure to improve the grinding quality of crankshaft grinding process.
6.Summary
In short, crankshaft grinding process, as a key link in the crankshaft manufacturing process, is of great significance to improving the performance and quality of crankshafts. By selecting appropriate grinding equipment, parameters and process methods, the quality and efficiency of crankshaft grinding process can be further improved, providing strong support for engine performance improvement.
