Importance of Factors Such as Environment and Cutting on Surface Roughness
In modern industrial manufacturing, surface roughness is an important indicator for measuring product quality. It is affected by many factors, and understanding these factors and measurement methods is crucial to improving product quality and optimizing processing technology. Below we will discuss the importance of environmental, cutting and other factors on surface roughness and measurement methods.
1.5 Factors That Affect Surface Finish
When two surfaces come into contact, the quality of their surface finish has a significant impact on how well they work and how long they last. Here are some of the factors that affect surface finish:
①Temperature
Volume is affected by temperature. Metals expand and polymers deform when the temperature rises. Therefore, the surface finish of a part is affected by the temperature of the material being cut. Temperatures above the optimum temperature for each material during the cutting process often result in uneven surfaces and increased surface roughness, especially when processed using mechanical methods.
②Cutting Technology
Metal blades have traditionally been used for cutting instruments and machinery. On the other hand, lasers and high-pressure water have become alternatives to traditional mechanical cutting processes. Overall, the new technologies produce more significant results, including smoother surface finishes. Laser cutting has many advantages over traditional cutting techniques, such as higher cutting accuracy and reduced rough surfaces. Water jet cutting machines also have benefits, such as higher performance surface finishes in small parts.
③Material Removal Rate and Feed Rate
Material Removal Rate (MRR) is the amount of material removed per unit time. It shows how long it takes to remove a certain amount of material from a workpiece. Feed is defined as the distance the tool moves along or into the workpiece per tool point per unit of time. Both aspects affect the quality of the surface finish.
④Cutting Tools
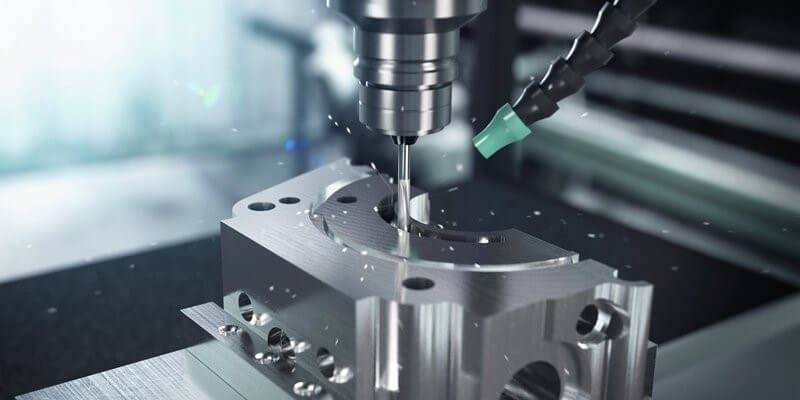
The surface finish of a part is determined by the manner and quality of the tool used to cut it. Cutting speed, feed rate, can all be modified on the cutting machine. These variables are changed based on the type of material being cut and the size of the part being manufactured to avoid excessively rough surfaces.
⑤Depth of Cut and Cutting Speed
Perpendicular to the machined surface, the depth of cut is how deep the tool cutting edge enters the workpiece material with each pass. Cutting speed is the speed at which the cutting edge of the tool moves across the workpiece surface in a given time. If the cutting speed is too high, the tool may become dull due to overheating. If the cutting speed is extended, the machining time becomes longer, resulting in a loss of productivity.

2.How to measure surface roughness?
Surface roughness is a way of quantifying the number of irregularities on a surface. The Ra parameter represents the arithmetic mean of all surface heights measured in a given area. As mentioned above, they are divided into three characteristics: roughness, waviness, and flatness. These factors affect the surface characteristics.
Therefore, there are several ways to measure surface roughness. The main types of measurement techniques are direct measurement, comparison measurement, non-contact measurement, and process measurement.
①Direct measurement method
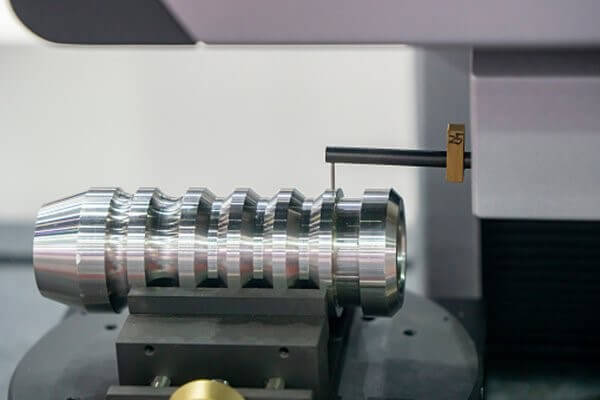
This process evaluates surface finish by drawing a stylus tip perpendicular to the surface and drawing it along the surface. Another method for evaluating the surface roughness of magnetic materials is inductive. In this method, an inductive pickup uses electromagnetic radiation to measure the distance to the test surface. Direct measurement methods can be used to compare parameter values of roughness levels.
②Comparative measurement method
Surface roughness samples created by the same equipment, process, and material as the surface to be evaluated are used in comparison techniques. Visual and tactile comparisons are made to the known surface roughness. This technique is best used in non-critical applications due to the subjective nature of the process.
③Non-contact measurement method
Instead of using a stylus in contact methods, sound or light is used. Optical instruments fall into many categories, including confocal and white light interferometry. Electron microscopy techniques are also used, but the equipment used is limited by its small field of view.
④Process measurement method
This method allows for continuous monitoring of the surface during machining or other processes, which can provide valuable feedback to the operator. In addition, process measurement methods may provide more accurate results than other methods because they measure the surface under conditions that are closer to actual applications.
Secondly, sound waves can also be used to determine surface finish. In ultrasonic scattering, ultrasonic pulses are sent to the surface. The ultrasonic waves are converted and reflected in the test equipment. Therefore, the surface roughness is calculated using the reflected waves. In addition, light can also measure surface roughness by shining a laser beam onto the surface and then measuring the intensity of the reflected light. The rougher the surface, the more scattered the light is, and the lower the intensity of the reflected light is.
