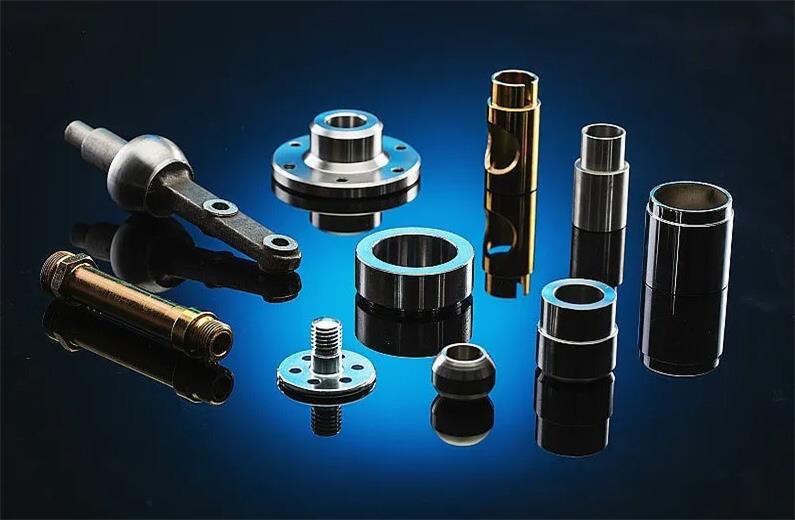
How to create precision turned parts with extreme precision
The manufacturing of precision turned parts is a perfect combination of equipment, process, materials, technology and other factors. The processing of each process, the selection of each material and tool are directly related to the accuracy and performance of the final product. This article will analyze in detail the key technologies for improving precision turned parts and their accuracy requirements and process requirements, and reveal how to create precision turned parts with extreme precision.
1.Overview of precision turning technology
(1) Definition and importance
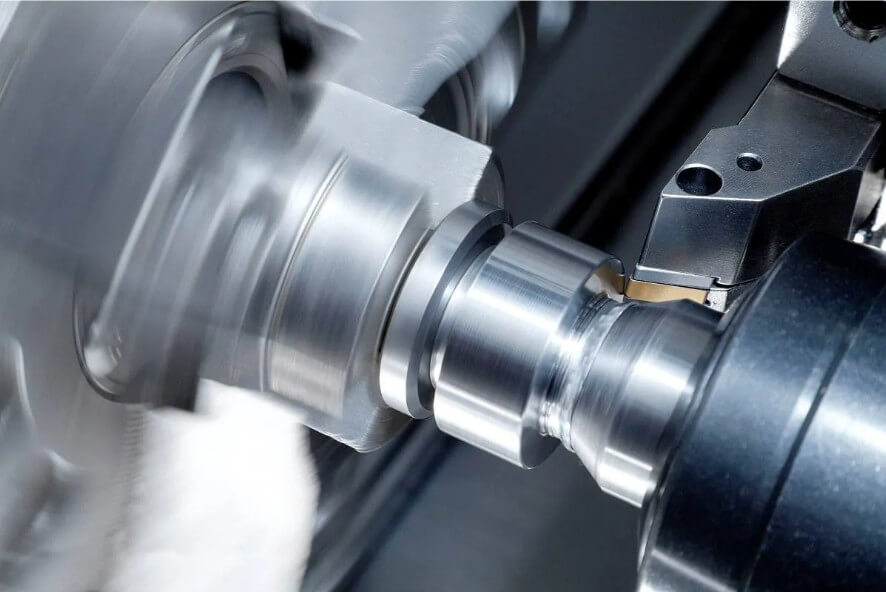
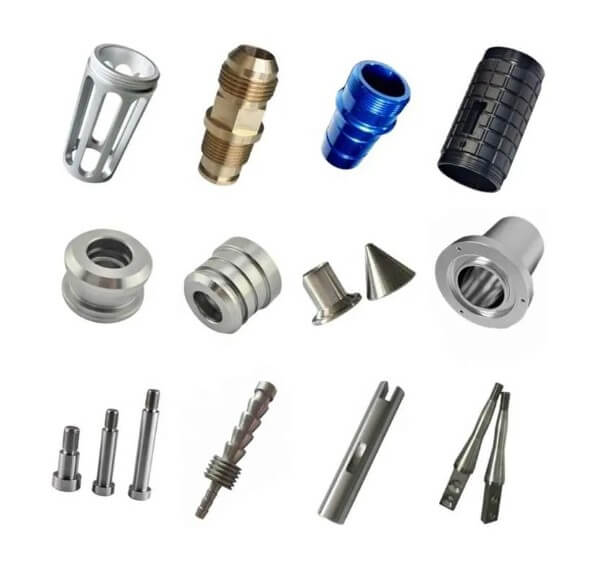
Precision turning technology is a manufacturing process that uses a lathe to cut a rotating workpiece to achieve high-precision dimensions and surface finish. This technology plays an extremely important role in modern industry, especially in the fields of aerospace, automobiles, and medical treatment, which have extremely high requirements for the accuracy and reliability of parts. Precision turning can ensure that the dimensional accuracy of parts is at the micron level and the surface roughness is also very low, thus meeting the high standards of part performance required by high-end equipment.
(2) Technology development history
The development of precision turning technology began in the early 20th century and was initially used mainly in the military and aerospace fields. With the advancement of industrial technology, especially the development of CNC technology, the accuracy and efficiency of precision turning have been significantly improved. Since the 21st century, with the advancement of computer control and material science, precision turning technology has been able to process various complex and high-precision parts and is widely used in civilian industries.
2.Key technical elements for processing precision turned parts
The key technical elements for achieving high-precision turning include:
(1) High-precision machine tool equipment:
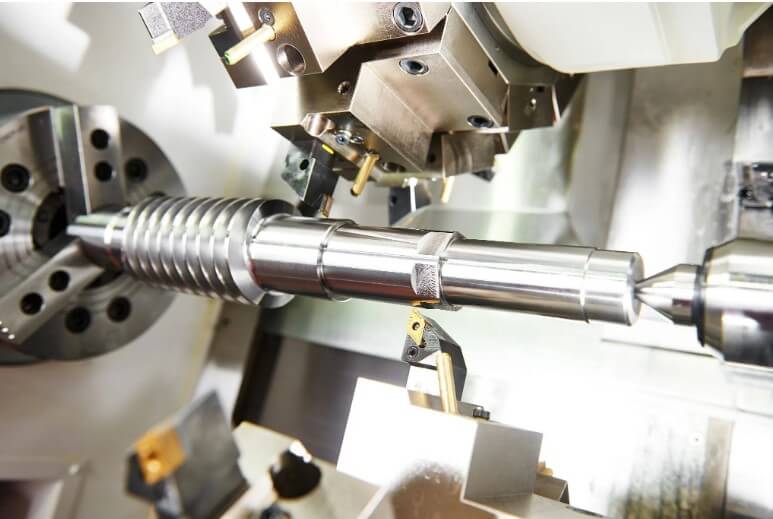
It must be equipped with a high-precision spindle system and feed system to ensure stability and accuracy during the processing.
(2) High-quality tool materials:
Such as superhard materials such as diamond and cubic boron nitride, these materials can withstand high-intensity cutting forces while keeping the blade sharp.
(3) Advanced measurement technology:
Use online measurement and error compensation technology to monitor and adjust the processing process in real time to ensure processing accuracy.
(4) Suitable environmental conditions:
Including temperature control and vibration isolation to reduce the impact of the external environment on processing accuracy.
3.Processing process of precision turned parts
(1) Material selection
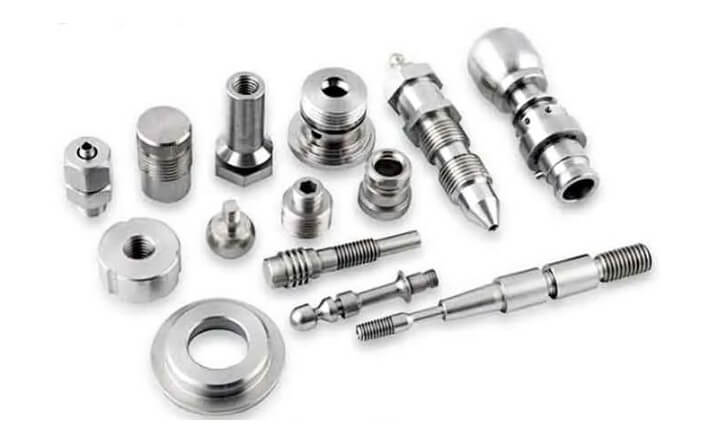
In precision turning, the selection of materials is crucial. Commonly used materials include aluminum, copper, stainless steel and titanium alloys, which have excellent mechanical properties and processing properties. For example, aluminum and copper are often used in the manufacture of electronic and heat dissipation components due to their good thermal conductivity and easy processing; while stainless steel and titanium alloys are widely used in the medical and aerospace fields due to their high strength and high corrosion resistance.
(2) Processing equipment and tools
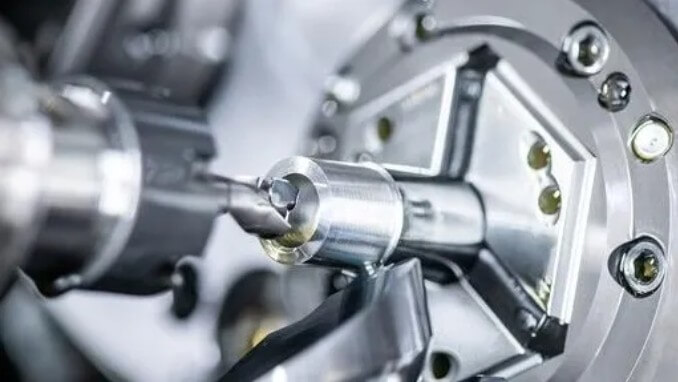
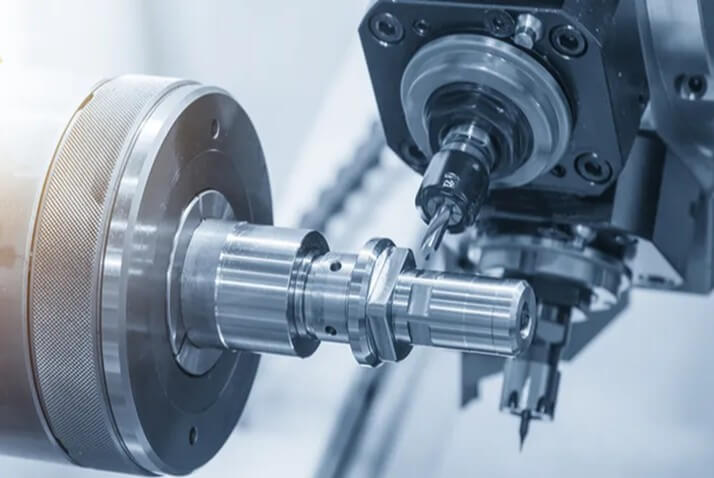
Precision turning mainly relies on high-precision CNC lathes. These lathes are equipped with advanced control systems and can achieve micron-level processing accuracy. The selection of cutting tools is also very critical. Commonly used cutting tool materials include high-speed steel, cemented carbide and diamond. Among them, diamond cutting tools are particularly suitable for high-precision and high surface finish processing requirements due to their extremely high hardness and wear resistance.
(3) Processing technology
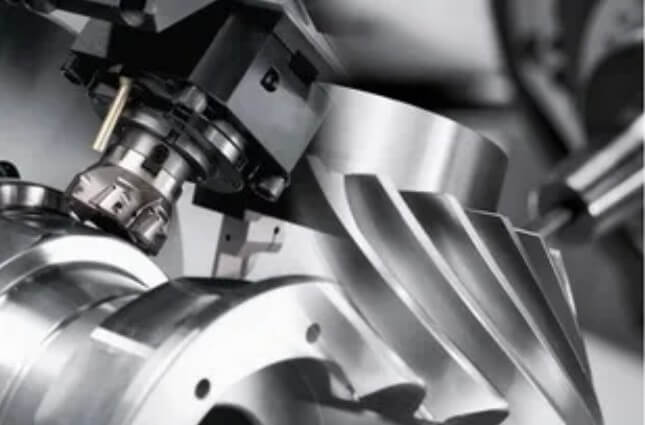
Processing precision turned parts usually includes multiple stages such as rough turning, semi-finishing turning and finishing turning. Rough turning is mainly to quickly remove material and reduce machining allowance; semi-finishing turning further refines the size and shape; and the finishing stage ensures the final dimensional accuracy and surface finish of the parts. In addition, in order to improve machining efficiency and accuracy, coolant may also be used to reduce cutting heat and tool wear.
(4) Quality control
Quality control is an indispensable part of the precision turning process. This includes the use of high-precision measuring equipment for real-time or regular size and shape inspections, as well as monitoring the stability of the machining process through statistical analysis. In addition, error compensation technology is used to adjust machine tool parameters based on real-time measurement results to reduce machining errors and ensure consistency in product quality.
4.What kind of accuracy should precision turned parts achieve?
Precision turned parts are widely used in modern manufacturing due to their high requirements for dimensional accuracy, shape accuracy, position accuracy and surface roughness. The following are the main accuracy indicators that precision turned parts should achieve:
(1) Dimensional accuracy:
The dimensional accuracy of precision turned parts is usually required to be between IT5 and IT7, depending on the use occasion and performance requirements of the parts. High-precision CNC lathes can even achieve dimensional accuracy of IT4.
For ordinary CNC lathes, the dimensional accuracy is generally between 0.01 and 0.025 mm, while for high-precision CNC lathes, the dimensional accuracy can reach 0.001 to 0.005 mm.
(2) Shape accuracy:
Shape accuracy mainly refers to the roundness and cylindricity of parts. The roundness error of precision turned parts should generally be controlled between 0.002 and 0.005 mm.
The cylindricity error should generally be controlled between 0.01 and 0.03 mm per 100 mm length.
(3) Position accuracy:
Position accuracy includes coaxiality, parallelism, verticality, etc. The position accuracy of precision turned parts is generally required to be between 0.01 and 0.03 mm.
For high-precision parts, the position accuracy requirements may be more stringent, even up to 0.005 mm.
(4) Surface roughness:
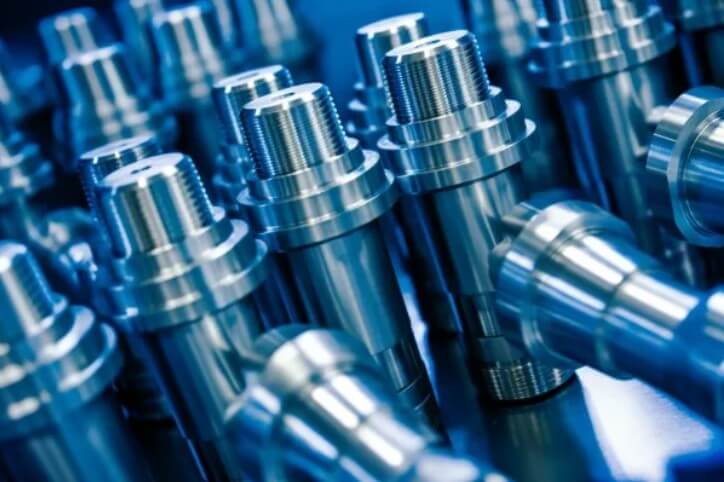
Surface roughness is an important indicator to measure the smoothness of the surface of a part. The surface roughness of precision turned parts is generally required to be between Ra0.8 and Ra1.25 microns.
For particularly precise parts, the surface roughness can reach Ra0.04 to Ra0.01 microns. This type of turning is called “mirror turning”.
5.Main factors affecting the precision of precision turned parts and avoidance measures
Precision turning is a crucial part of mechanical processing. Its processing accuracy directly affects the quality and performance of the final product. In order to ensure the processing accuracy of precision turned parts, effective measures must be taken to avoid or reduce the influence of these factors.

(1) Machine tool geometric error
The geometric error of the machine tool mainly comes from the manufacturing and wear of the machine tool spindle, guide rail and transmission chain. The spindle rotation error will directly affect the roundness and cylindricity of the workpiece; the guide rail error will cause the tool to deviate during movement; the transmission chain error will affect the accuracy of the feed movement.
Avoidance measures:
1) Regularly maintain and inspect the machine tool for accuracy, and replace worn parts in a timely manner.
2) Use high-precision machine tools to improve the manufacturing accuracy of the machine tools themselves.
3) Use error compensation technology to compensate for the geometric errors of machine tools in real time.
(2) Tool error
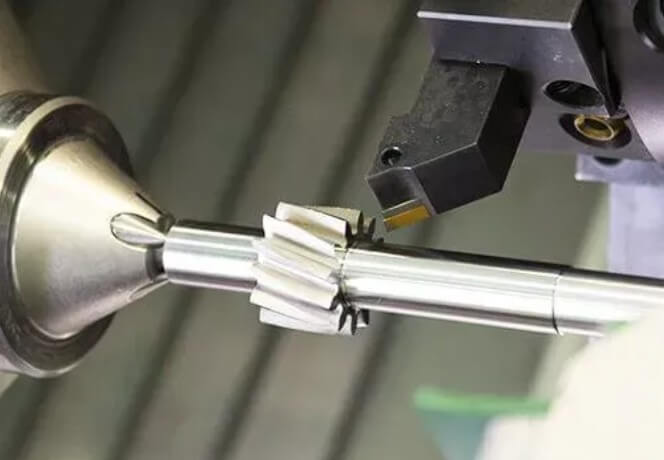
The manufacturing error, wear and installation error of the tool will affect the turning accuracy. In particular, the geometric shape error of the tool and the wear of the blade will cause the cutting force to change, which will in turn affect the size and shape accuracy of the workpiece.
Avoidance measures:
1) Select high-precision tools, and regularly check the wear of the tools, and replace or grind them in time.
2) Optimize the tool path and cutting parameters to reduce the impact of tool wear on machining accuracy.
3) Use advanced tool materials to improve the durability and cutting performance of the tool.
(3) Workpiece clamping error
The positioning error of the workpiece during the clamping process and the deformation error caused by the clamping force are important factors that lead to the decrease in machining accuracy. Improper clamping may also cause the workpiece to loosen or shift during the machining process.
Avoidance measures:
1) Use high-precision fixtures and positioning elements to ensure accurate positioning of the workpiece.
2) Optimize the clamping force and clamping position to reduce workpiece deformation.
3) Use special fixtures to improve the stability and repeatability of workpiece clamping.
(4) Thermal deformation of the process system
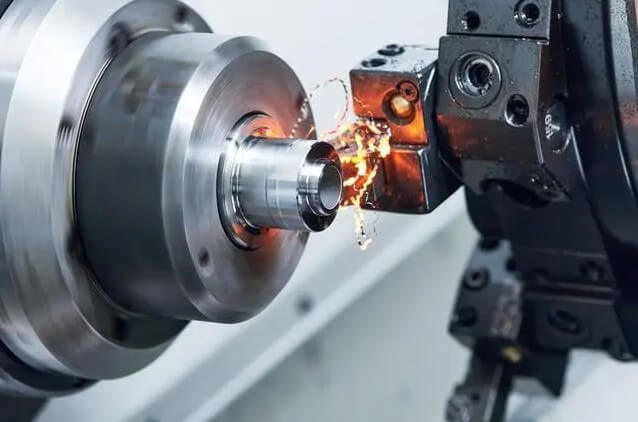
During the turning process, due to cutting heat, friction heat and ambient temperature changes, the machine tool, tool and workpiece will undergo thermal deformation, thereby affecting the processing accuracy.
Avoidance measures:
1) Control cutting parameters to reduce the generation of cutting heat.
2) Adopt effective cooling measures, such as using cutting fluid, to reduce the temperature of the process system.
3) Preheat the machine tool before processing to reduce the impact of temperature changes on processing accuracy.
(5) Deformation caused by internal stress
The workpiece may have internal stress before processing. The release of internal stress during processing will cause the workpiece to deform and affect the processing accuracy.
Avoidance measures:
1) Pre-treat the workpiece, such as aging treatment, to eliminate internal stress.
2) Optimize the processing technology to reduce the generation of internal stress during processing.
3) Adopt an appropriate processing sequence, first rough processing and then fine processing, to gradually release internal stress.
(6) Deformation caused by cutting force
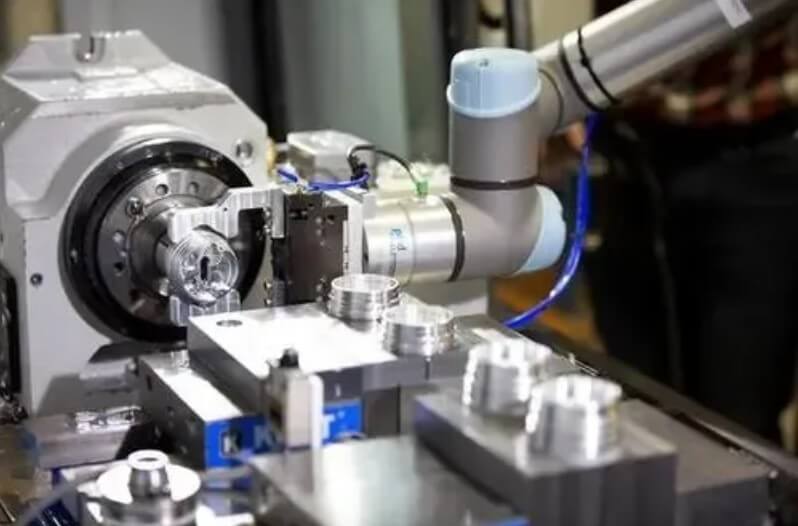
Cutting force can cause deformation of workpieces and process systems, especially when processing thin-walled parts or slender shafts.
Avoidance measures:
1) Optimize cutting parameters to reduce the size of cutting force.
2) Use special processing methods, such as follower support, to reduce workpiece deformation.
3) Use high-rigidity machine tools and fixtures to improve the overall rigidity of the process system.
6.Summary
In summary, in order to ensure the processing accuracy of precision turned parts, it is necessary to start from multiple aspects such as machine tools, tools, workpiece clamping, thermal deformation and internal stress of the process system, and take comprehensive measures to reduce the impact of various errors on processing accuracy. Only in this way can high-quality precision turned parts be produced to meet the strict requirements of modern manufacturing industry.
