Introduction to tapping machining
Think threading a needle is hard? Try threading metal. Tapping machining, the art of creating threads within a hole, is an essential skill in machining. Whether you’re a seasoned pro or a curious beginner, understanding the tapping machining process in manufacturing is key to achieving a secure, precise fit.
1.What is tapping machining?
Think of tapping machining on a drill as an important task in the world of machining. Tapping is the process of cutting threads (i.e., spiral grooves) within a pre-drilled hole.
Why is tapping machining so important? Because those threads enable screws and bolts to do their job: create strong, secure connections that hold together everything from car engines to kitchen cabinets.
1) Why not just drill a hole?
Imagine trying to thread a bolt into a smooth hole. It’s like trying to climb a ladder without rungs—slippery and unreliable. Tapping creates those all-important “rungs” (threads) so your fastener can grab onto it.
2) How does tapping machining differ from threading?
While both processes create threads, they do so in different ways:
- Tapping: Creates internal threads within a hole.
- Threading: Creates external threads on a rod or shaft.
3) When is tapping machining used?
Tapping is the preferred choice when you need a threaded hole to install a screw, bolt, or other fastener. It is a common operation in manufacturing, repair work, and even DIY projects.
4) What are the benefits of tapping?
- Strong connections: Threads provide a secure grip, preventing fasteners from loosening under vibration or pressure.
- Precision: Tapping ensures a precise fit, making assembly easier and preventing leaks or misalignment.
- Versatility: You can tap a wide range of materials, from soft plastics to hardened steel.
- Strength: A threaded hole is stronger than the surrounding material, creating a reliable fastening point.
- Weight savings: Threaded fasteners are generally lighter than welds or rivets, making them ideal for weight-conscious applications such as aerospace.
- Reusability: Threaded holes are easy to disassemble and reassemble, making them great for maintenance and repair.
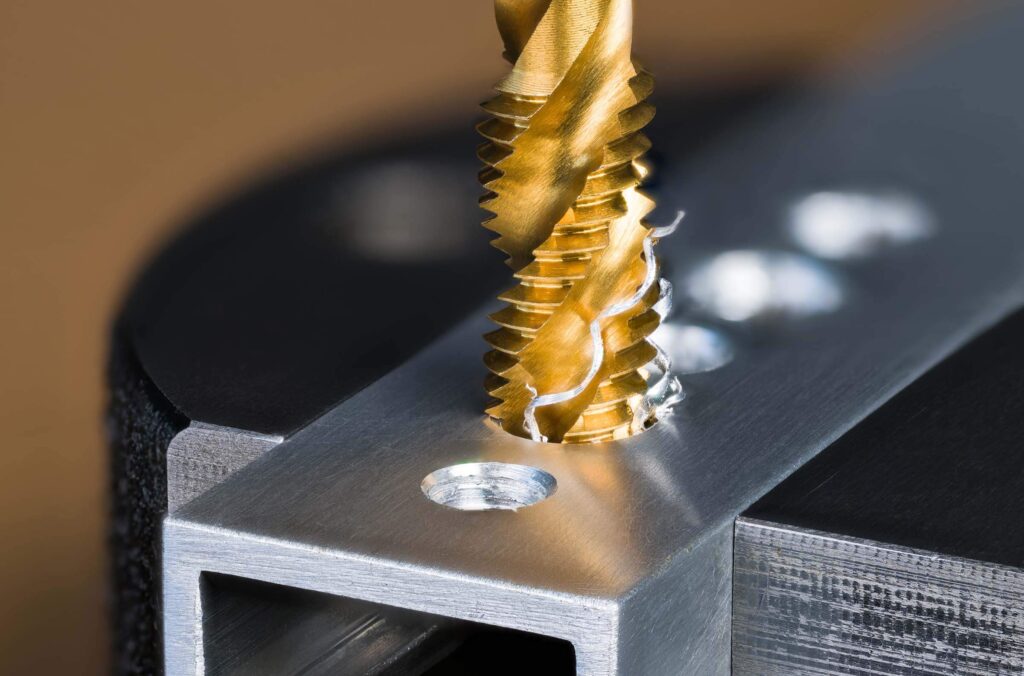
2.Types of Taps: The Right Tapping Tool for the Job
Just like you wouldn’t use a Phillips-head screwdriver to turn a grub screw, different tapping tasks require different types of taps. Choosing the right tapping tool is essential to getting clean, accurate threads and avoiding headaches later.
Let’s break down the most common types:
1) Hand Tapping vs. Machine Tapping
The first major difference is how the taps are used:
- Hand Taps: As the name implies, these taps are designed for manual tapping operations on a drill using a tap wrench. They usually come in sets of three:
- Taper Taps: The tip is tapered to help guide the tap into the hole. Great for threading.
- Feeler Taps: Have a shorter taper and more cutting edges for continuing threads.
- Bottom Hole Taps: Used to cut threads to the bottom of a blind hole (a hole that doesn’t go all the way through the material).
- Machine Taps: These taps are designed for use on machines like drill presses or CNC machines. They often feature a spiral flute design that helps evacuate chips and prevent clogging.
2) Flute Styles: Straight vs. Spiral
The chip flutes are grooves on the tap that help remove chips and allow cutting fluid to flow.
- Straight Flutes: Suitable for most general-purpose through-hole tapping (holes that go through a material).
- Spiral Flutes: The spiral design helps pull chips out of the hole and is great for blind holes.
3) Forming Taps vs. Cutting Taps
Taps also differ in the way they create threads:
- Cutting Taps: These are the most common type. They have a sharp cutting edge that cuts threads into the material.
- Forming Taps: These taps create threads by displacing material rather than cutting. This results in stronger threads with less chipping, but they are generally limited to softer materials.
4) Materials: High Speed Steel (HSS) and Others
Faucets come in a variety of materials, each with its own pros and cons:
- High Speed Steel (HSS): The most common and widely used material, with a good balance of hardness, durability, and cost.
- Cobalt Steel (HSS-Co): A step up from HSS, with better heat and wear resistance, making it ideal for tough materials like stainless steel.
- Carbides: Very hard and wear-resistant, but also brittle and expensive. Often used for high-volume production or extremely abrasive materials.
5) Coatings: Protective Hands
Many faucets come with coatings that improve their performance and lifespan:
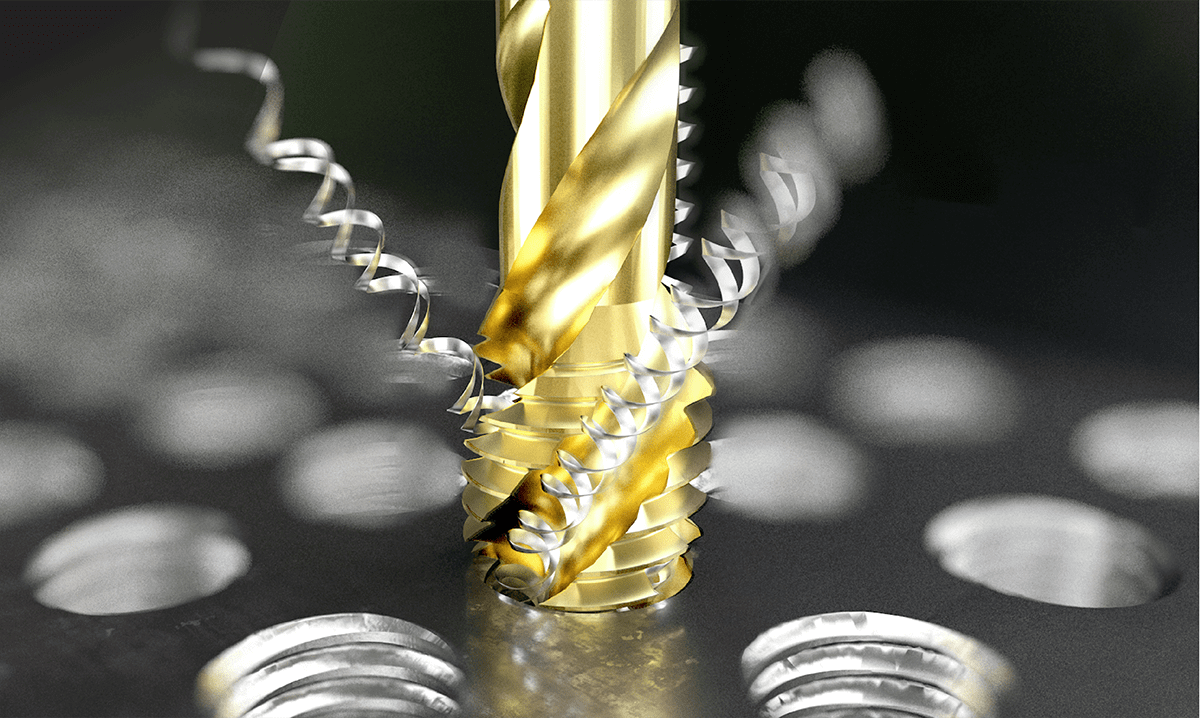
- Titanium Nitride (TiN): A gold-colored coating that increases hardness and lubricity, reducing friction and wear.
- Titanium Carbonitride (TiCN): A dark gray coating that is harder and more wear-resistant than TiN.
- Other coatings: There are many other coatings available, each offering specific benefits, such as improved lubricity, heat resistance, or corrosion resistance.
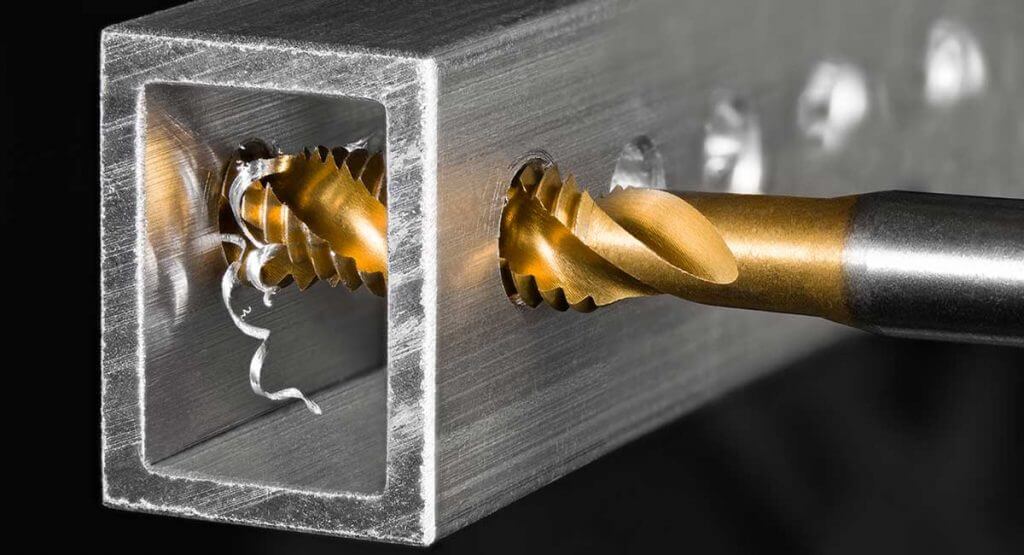
3.Which tap to choose?
The best tap for your project depends on several factors:
- Material: What are you utilizing?
- Hole type: Through hole or blind hole?
- Tapping method: Hand tapping or machine tapping?
- Thread size: What size thread do you need?
- Production volume: Are you tapping a few holes or thousands?
- Budget: How much are you willing to spend?
4.Choosing a tap drill
You’ve got your tap, but you’re going to have to sit tight. Before you start spinning, you need the right size hole for your tap drill.
- Thread engagement: A tap drill drills a hole slightly smaller than the desired thread size. This ensures that the tap has enough material to “bite” into, resulting in a strong, well-defined thread.
- Cutting forces: A hole that’s too small will increase cutting forces, making tapping more difficult and potentially breaking the tap. A hole that is too large will result in weak threads that will strip easily.
- Hole quality: A clean, accurately sized hole will make tapping smoother and produce better threads.
5.How do I choose the right tap drill size?
There is no one-size-fits-all answer, but here are the general guidelines:
- Check the tap: Most taps have the recommended drill size engraved on them. If your tap does not, consult a tap drill chart.
- Consider thread engagement: The percentage of thread engagement required depends on the application and material. For general purpose threads, 75% engagement is a good starting point.
- Material considerations: Softer materials may require a slightly smaller drill size to prevent the tap from “pulling” the material, while harder materials may require a slightly larger size to reduce cutting forces.
- Consult a chart: The tap drill chart provides recommended drill sizes for different thread types, materials, and percentages of engagement.
It is best to go smaller in drill size. You can always re-drill if needed, but you cannot “undo” a tapped hole.
Tap drill charts are your best friend when it comes to choosing the right drill size. They take the guesswork out of it and help you achieve the best thread engagement. You can find them online, in machining manuals, and even on smartphone apps.
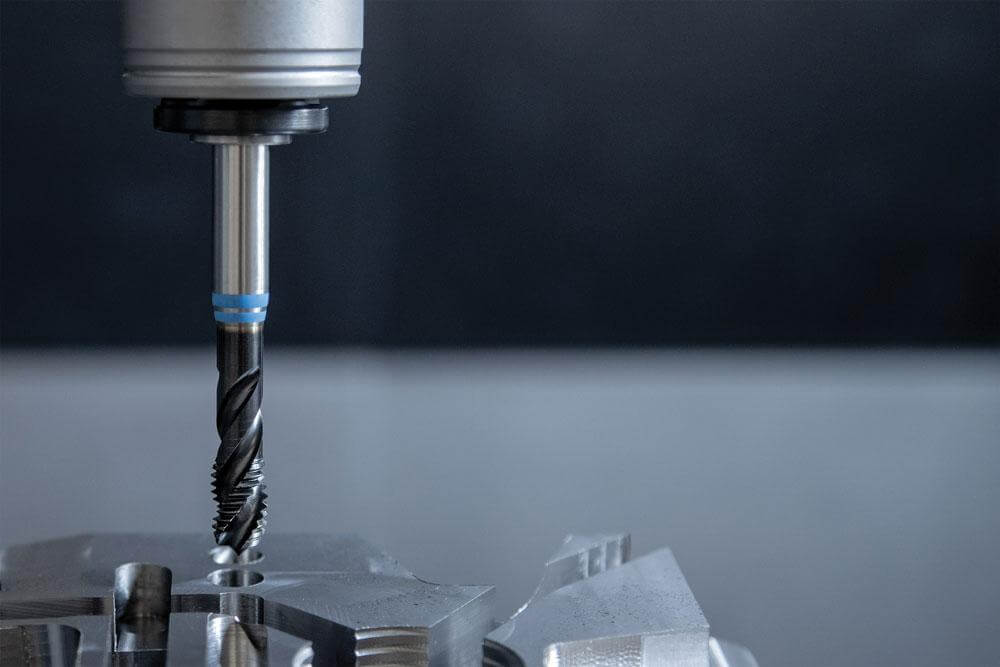
6.The process of tapping machining
With a tap drill and tap, you are ready to start threading. Whether you are tapping by hand or by machine, the basic steps are the same.
1) Manual tapping machining: A hands-on approach
- Prepare the hole: Make sure the hole is clean and burr-free. You can chamfer the entrance to the hole with a deburring tool or countersink to make the tap easier to start.
- Apply cutting fluid: Lubrication is key to reducing friction and heat, which can damage the tap and the workpiece. Apply a generous amount of cutting fluid to the tap and the hole.
- Start with a tapered tap: The tapered end of this tap helps guide it into the hole and start the thread. Insert the tap into the hole and start turning it clockwise using a tap wrench.
- Two-turn rule: For every two turns forward, back off the tap a half turn to break off the chips and prevent them from clogging the flutes.
- Check alignment: Always check that the tap is perpendicular to the workpiece. Use a square or visually to make sure you are not cutting crooked threads.
- Switch to a plug tap: After you have made a few threads with the taper tap, switch to a plug tap to continue cutting. Follow the same two-turn rule.
- Finish with a bottom tap (optional): If you are tapping a blind hole and need threads all the way to the bottom, use a bottom tap to finish the last few threads.
- Clean up: Once you have reached the desired depth, pull the tap out of the hole and clean out any debris.
2) Machine tapping machining: Increase your productivity
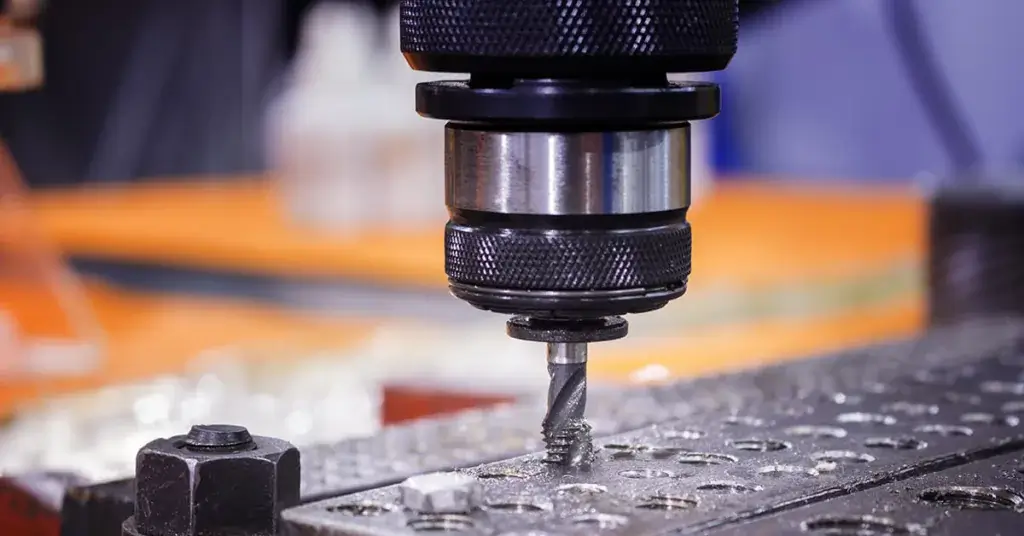
Machine tapping is similar to hand tapping, but a machine (such as a drill press or CNC machine) does the turning for you. Here is the basic process:
- Secure the workpiece: Make sure the workpiece is securely clamped to prevent movement during tapping.
- Choose the right tap holder: Choose a tap holder that matches the size and type of tap.
- Set speeds and feeds: Refer to your machine manual or machining reference to find out the speeds and feeds that are appropriate for your tap and material.
- Apply cutting fluid: As with hand tapping, lubrication is essential. Make sure your machine is able to deliver cutting fluid to the tap and workpiece.
- Start tapping: Slowly lower the tap into the hole until it engages the threads. The machine will then automatically turn the tap at the correct speed and feed.
- Monitor for problems: Keep a close eye on the tapping process, keeping an eye out for any unusual noises or vibrations that could indicate a problem.
- Reverse and retract: Once the tap reaches the desired depth, the machine will automatically reverse the tap and retract it from the hole.
Whether you tap manually or with a machine, always wear safety glasses and follow safe operating procedures.
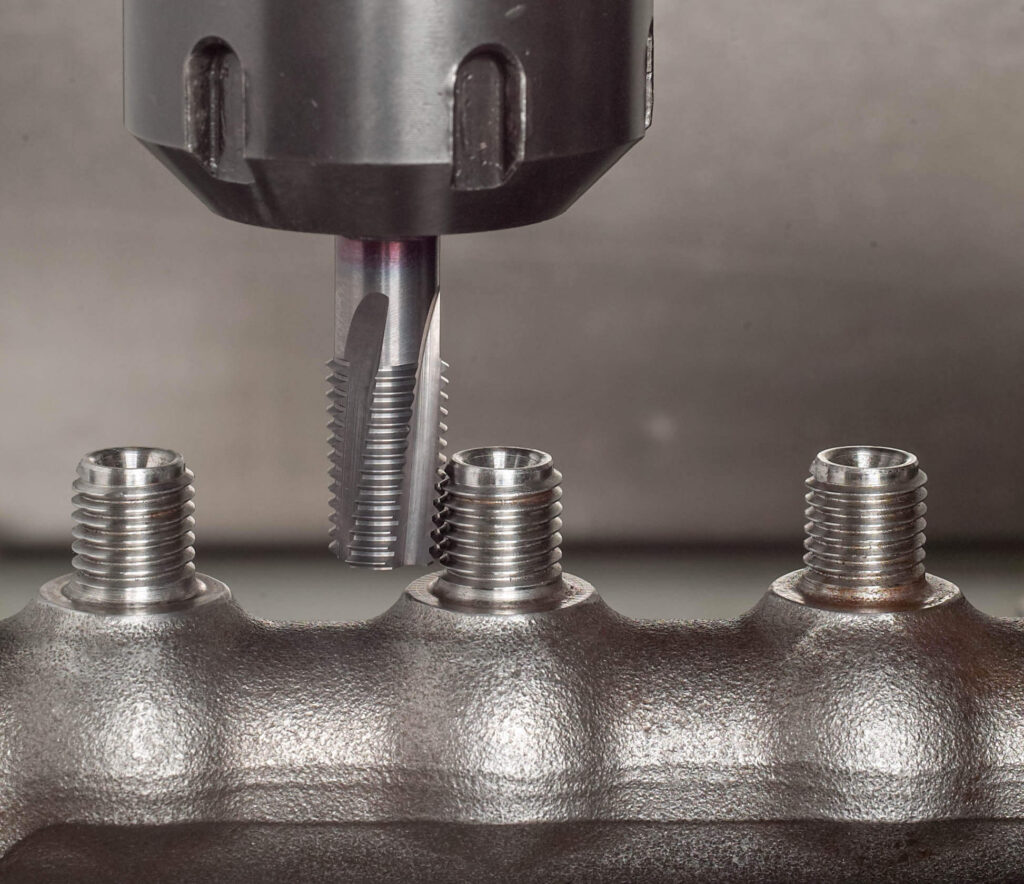
7.Troubleshooting tapping machining
Even with the best preparation, tapping can sometimes give you surprises. But don’t worry. Here are some common problems and how to fix them:
1) Tap Breakage
It’s a machinist’s nightmare. It’s usually caused by:
- Overdrilling: Remember, taps need material to grip. Overdrilling means less engagement and a higher risk of breakage.
- Inadequate lubrication: Heat and friction are the enemies of taps. Always use plenty of cutting fluid.
- Overexerting: Don’t try to force a break. If you encounter resistance, back off and investigate the problem.
- Material hardness: Some materials are difficult to tap. Consider using a harder tap material, like cobalt steel or carbide.
If a tap breaks in a hole, don’t panic. Use a tap extractor to carefully remove it.
2) Poor thread quality
Bad threads can be a real bummer. Here are some of the culprits:
- Misaligned taps: A bent tap can cause bent threads. Use a square or visually make sure the tap is perpendicular to the workpiece.
- Incorrect drill size: A hole that’s too small can cause torn or damaged threads. A hole that’s too large can cause brittle threads. Check your tap drilling chart.
- Dull taps: A dull tap doesn’t cut cleanly, resulting in a rough thread. Sharpen or replace the tap as needed.
- Inadequate lubrication: Again, cutting fluid is your friend. Don’t skimp on it.
3) Bird’s nest
This happens when chips get stuck in the tap’s grooves, creating a mess and potentially damaging the threads. Here’s how to prevent it:
- Use a spiral-fluted tap: The spiral design helps pull chips out of the hole.
- Pecking: Instead of tapping with a continuous motion, try pecking. This involves tapping a short distance, back-tapping to cut off the chips, and then tapping again.
- Clearing out debris: Periodically use a brush or compressed air to clear debris from the grooves.
4) Hole size issues
If you’re tapping a hole that’s too big or too small, consider the following:
- Tap wear: An overly worn tap will cut threads that are too large. Replace worn taps regularly.
- Material springback: Some materials will spring back slightly after tapping, causing undersized threads. You may need to tap slightly larger to compensate.
- Wrong tap and drill size: Double-check the tap and drill chart to make sure you are using the correct size.
- Workpiece movement: If the workpiece moves during tapping, it can cause oversized or misaligned threads. Make sure the workpiece is securely clamped.
8.Conclusion
You have learned all about tapping machining, from selecting the right tap to troubleshooting common problems. With this knowledge, you can easily create perfect threads and strong connections.
1 Comment