The Basics of Turned Part Measurement
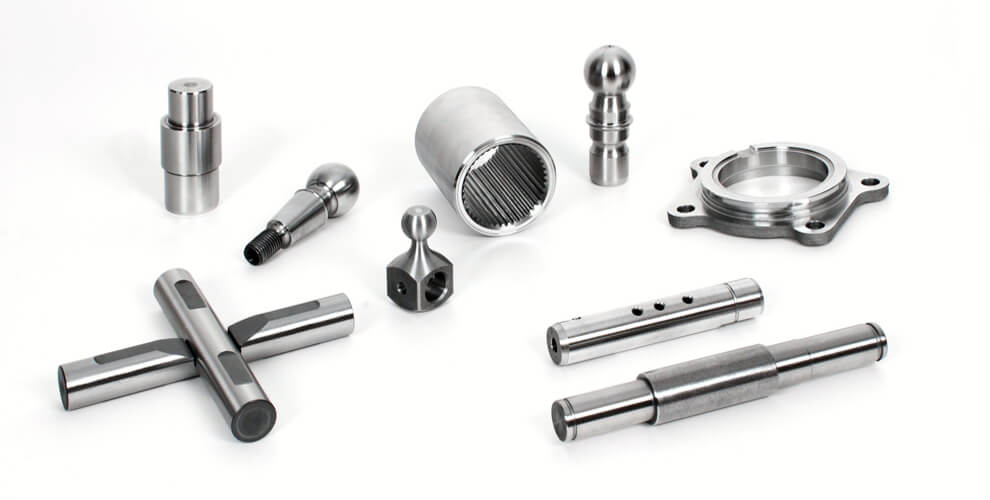
Turned part measurement is an application of metrology that involves acquiring data from turned parts such as valves, camshafts, and other parts designed to rotate on a shaft.
During the inspection process, turned parts are measured for features such as diameter, length, and profile, as well as specific features such as keyways and slots.
Traditionally, turned parts are measured using a variety of gauges and machines to obtain their respective readings, such as profile gauges, height gauges, etc.
Now, the most advanced and reliable machines for measuring turned parts can acquire all relevant data points using optical measurement and contact probe technology, resulting in an all-in-one solution for turned part measurement.
Turned part measurement is commonly used by manufacturers who need to determine the health and condition of cylindrical parts to ensure compliance and ensure production is within tolerance, but it also has applications in other areas.
A turned part is a precision machined part, typically made of metal, that is machined into a specific shape using a spindle or rotating tool, known as a lathe. Turning is a machining process in which the workpiece rotates while the cutting tool moves along the workpiece.

1.What does turned part mean?
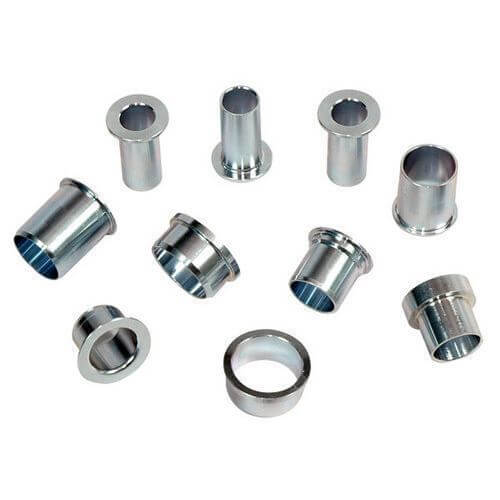
A turned part is a part that has been made using a turning manufacturing process, usually using a lathe. A turned part is typically a rotating cylindrical part that has been machined.
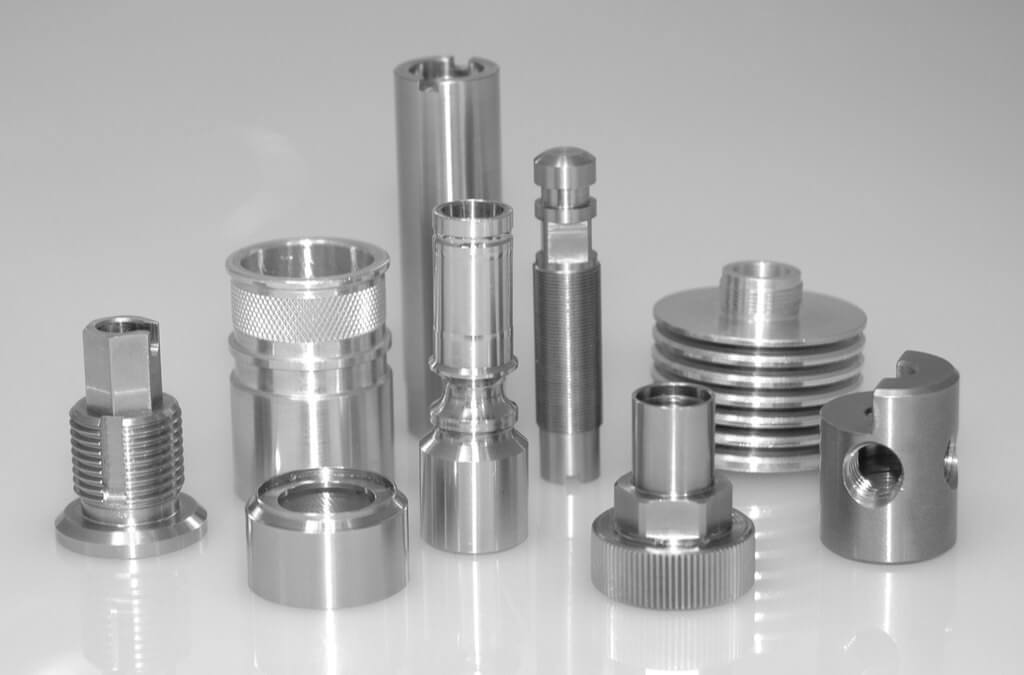
Turned parts often have complex geometries, so the processes involved in cutting and measuring turned parts must be precise, as accuracy is critical to the final product.
- Bearings
- Crankshafts
- Engine Parts
- Threads
- Hydraulic Systems
2.What are Precision Turned Parts?
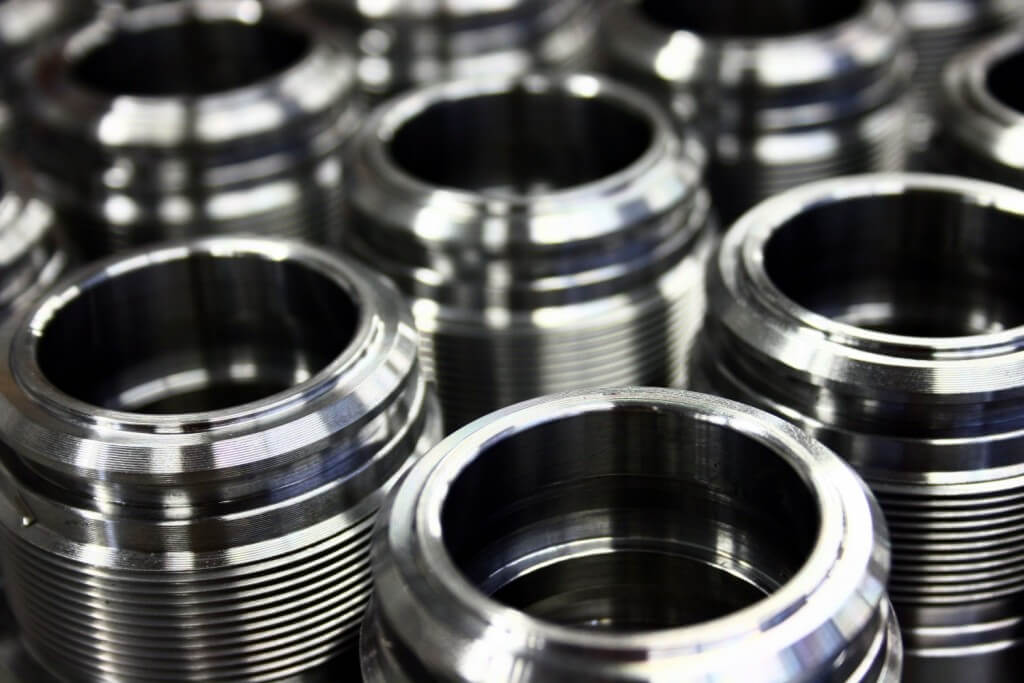
Many turned parts require precision machining, as lathe machining processes are often based on accuracy as a top priority. Often, turned parts must be made to tight tolerances, and accurate measurement of these parts is just as important to ensure repeatability from one machining run to the next.
Industries such as aerospace, automotive, medical, and manufacturing require parts that can withstand the stress of daily use in harsh conditions. These parts need to meet a variety of regulations to ensure that each machining run is safe, reliable, efficient, and free of any potentially fatal defects.

3.How do you measure a turned part?
The first step in precision measurement often involves measuring the diameter, thickness, and length of a part to ensure it meets specifications. If the measurements are inaccurate, the part will be rejected.
Another important step in precision measurement is inspection by an experienced technician to ensure that the dimensions are within tolerance. If not, the component is sent back to the operator for re-machining.
Inspection of precision turned parts can be done by either manual measurement or automated measurement. Manual measurement is slower than the automated measurement process and requires a human operator to manually check each part. Automated measurement systems speed up the process and are generally more accurate than manual measurement.

4.What makes optical measurement faster?
Traditional methods of measuring turned parts have poor repeatability and greatly reduce the accuracy of each measurement. Inspection of precision turned parts can be done by either manual measurement or automated measurement. Manual measurement is slower than automated measurement and requires a human operator to manually check each part. Automated measurement systems speed up the process and are generally more accurate than manual measurement.
Using the latest technology, complex turned parts can be measured quickly and efficiently, eliminating inefficient, inaccurate methods. Using programmed specifications for precise measurement ensures that your parts will be correct every time.
5.How does CNC turning work?
CNC (Computer Numerical Control) turning is a process in which a machine rotates a tool on a workpiece while the cutting tool is stationary and removes material from the outside of the part.
During turning, the cutting tool, which can be a drill or a cutter, slowly and gently removes material by cutting off pieces of material from the surface of the workpiece as it rotates. CNC lathes can produce more complex shapes with great precision and repeatability.

6.Boring, milling, turning and laser cutting – what’s the difference?
1) Lathe machining (for turning)
Turning is a machining method that rotates the workpiece to bring the metal into contact with the cutting tool. The turning process can be done in a variety of ways, but the most common method is to use a large lathe that turns the workpiece by rotating it around an axis.
2) Milling
Milling is a process that uses a cutting tool to remove material to create a part or shape. Milling machines typically move the cutting tool in two mutually perpendicular directions while the workpiece rotates. This allows the tool to move along the surface of the workpiece and remove material at predetermined locations.
Milling is often used for work that doesn’t require the same level of precision as turning, such as shaping a block of wood into a coffee table or cabinet door.
3) Boring
Boring is a special milling process that uses a special tool called a boring head to cut cylindrical holes in metal parts. These holes are often drilled into shafts or other cylindrical parts to machine keyways into the shaft so it can be attached to a mating part.
They are also used to cut keyways and grooves into other surfaces of a workpiece for proper assembly.
4) Laser Cutting
Laser machines (also called laser cutters) use lasers to process materials. Laser cutting works by directing the output of a high-powered laser onto a surface. The laser vaporizes the material, forming a small molten pool that is then blown away by the gas ejected from the laser cutter’s nozzle.
